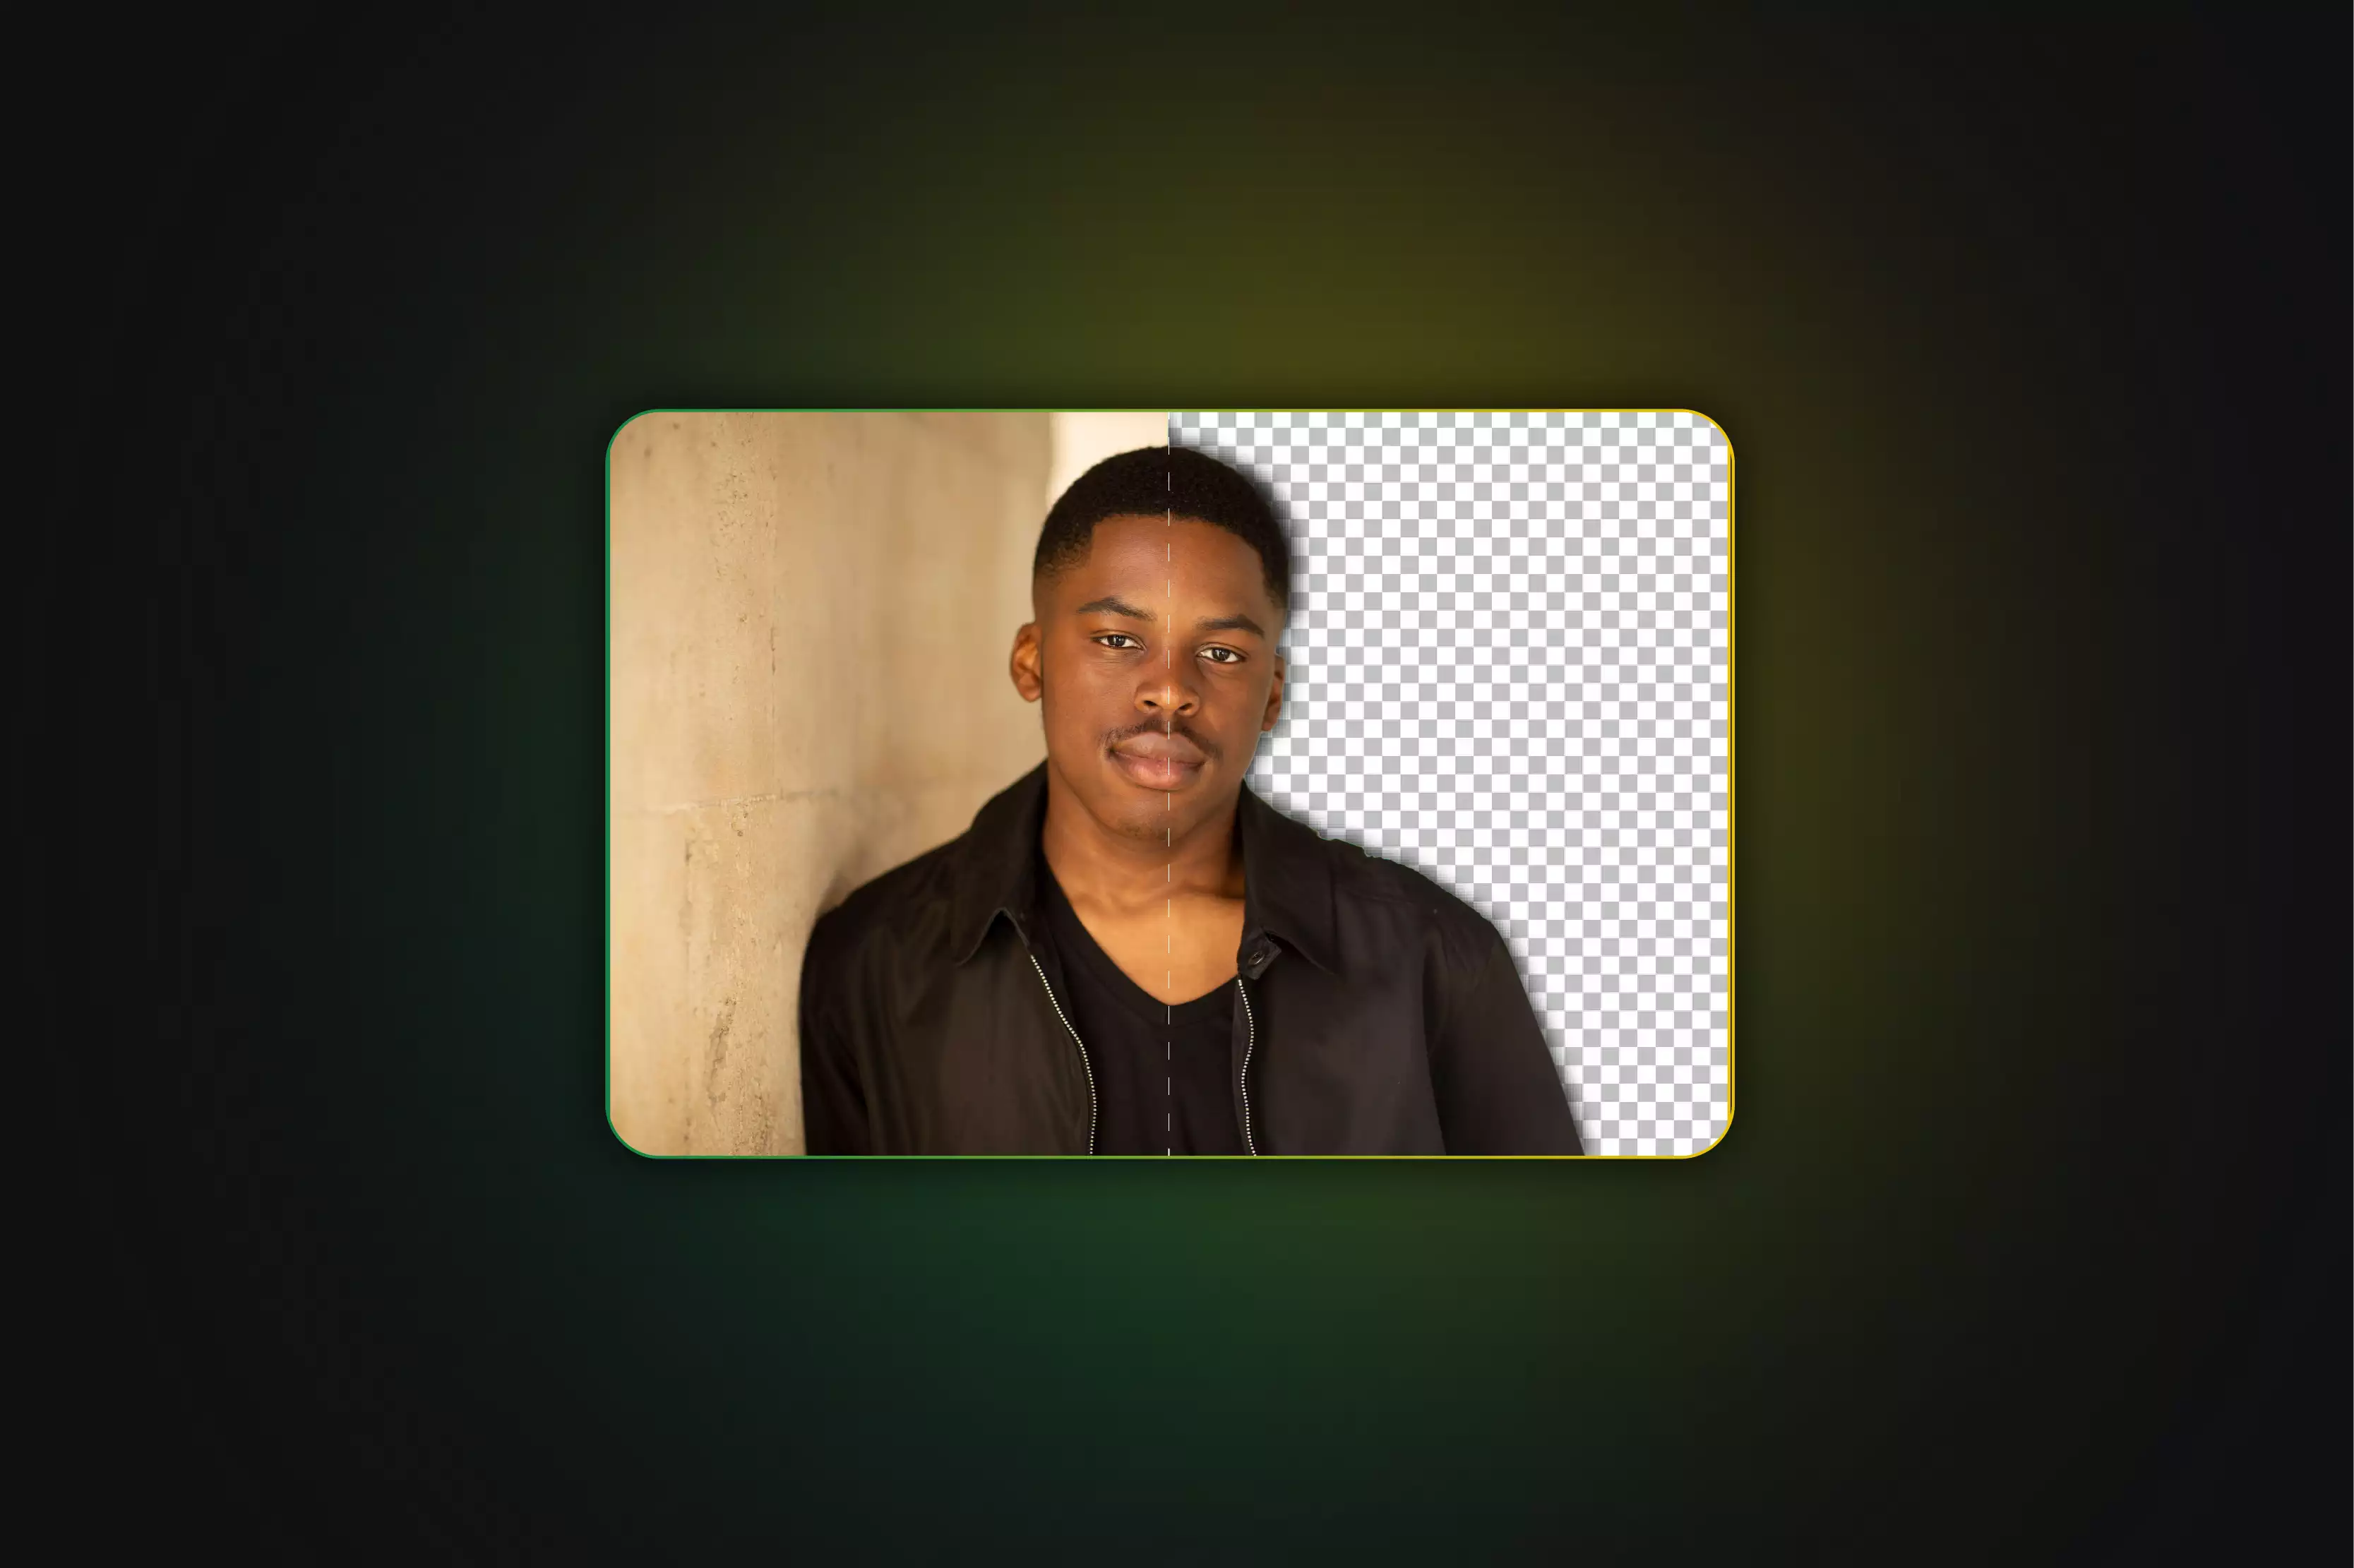
How to Cut Out Your Headshot and Save as a Transparent PNG?
Having a professional headshot is essential for personal branding, social media profiles, and business presentations. One of the key aspects of a standout headshot is a clean, transparent background that allows for versatile usage across various platforms and designs. This article will guide you through the process of cutting out your headshot and saving it as a transparent PNG, ensuring a polished and professional look.
We will explore different tools and techniques, from industry-standard software like Adobe Photoshop to user-friendly online tools such as Erase.bg. Each method will be explained step-by-step to help you achieve the best results regardless of your technical expertise. Additionally, we will share expert tips on creating the perfect headshot, focusing on lighting, angles, and composition to make your photo truly shine. Whether you're preparing for a job application, updating your LinkedIn profile, or enhancing your personal website, this comprehensive guide will equip you with the knowledge and skills to produce high-quality, transparent headshots effortlessly.
How to Cut Out Headshot into a Transparent PNG?
To cut out a headshot and create a transparent PNG, you can choose between two effective methods. One option is to use an online tool that automatically removes the background, providing a quick and easy way to obtain a transparent PNG with minimal effort. The other method involves using photo editing software, which allows for more control and precision by manually selecting and refining the headshot before saving it as a transparent PNG. Let’s start with both methods in detail to help you determine which approach best suits your needs.
1. Using an Online Tool (Erase.bg)
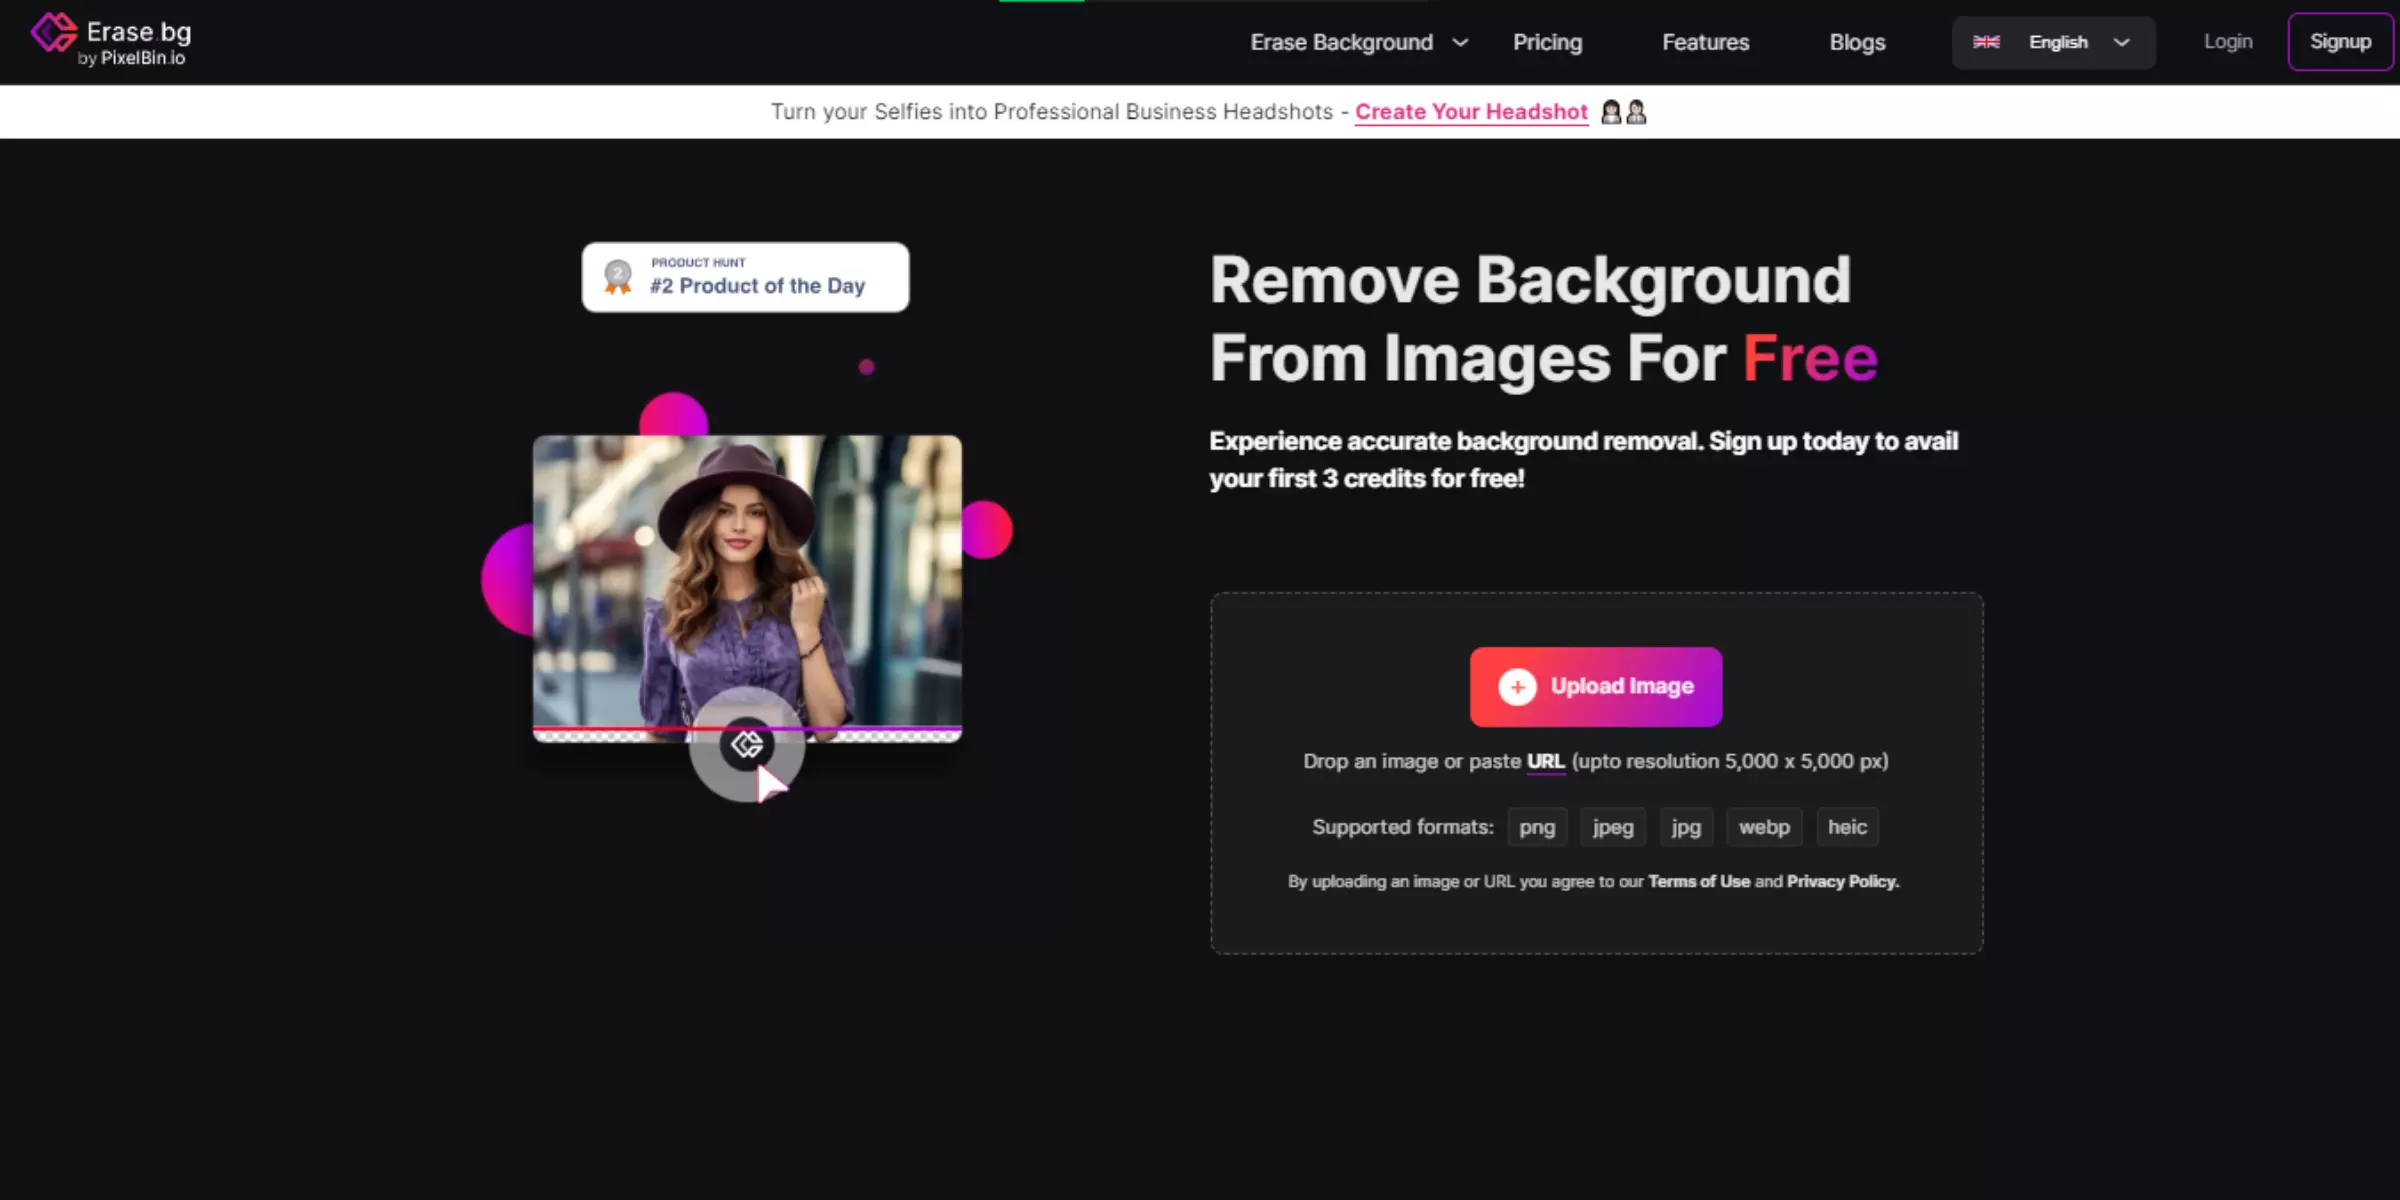
Erase.bg is an excellent online tool for removing backgrounds from images with ease. This AI-powered service is perfect for turning casual photos into professional headshots by automatically removing backgrounds in seconds. Upload your image, and Erase.bg takes care of the rest, delivering high-quality results without any manual editing.
It's free to try and supports various image formats like PNG, JPG, JPEG, WebP, and HEIC. For commercial purposes, Erase.bg offers subscription plans through PixelBin.io, allowing bulk processing and API integration. Whether you're a photographer, designer, or just looking to improve your images, Erase.bg provides a user-friendly and efficient solution for background removal.
Steps to Cut Out Your Headshot and Save as a Transparent PNG
1. Visit the Website: Open your browser and go to Erase.bg.
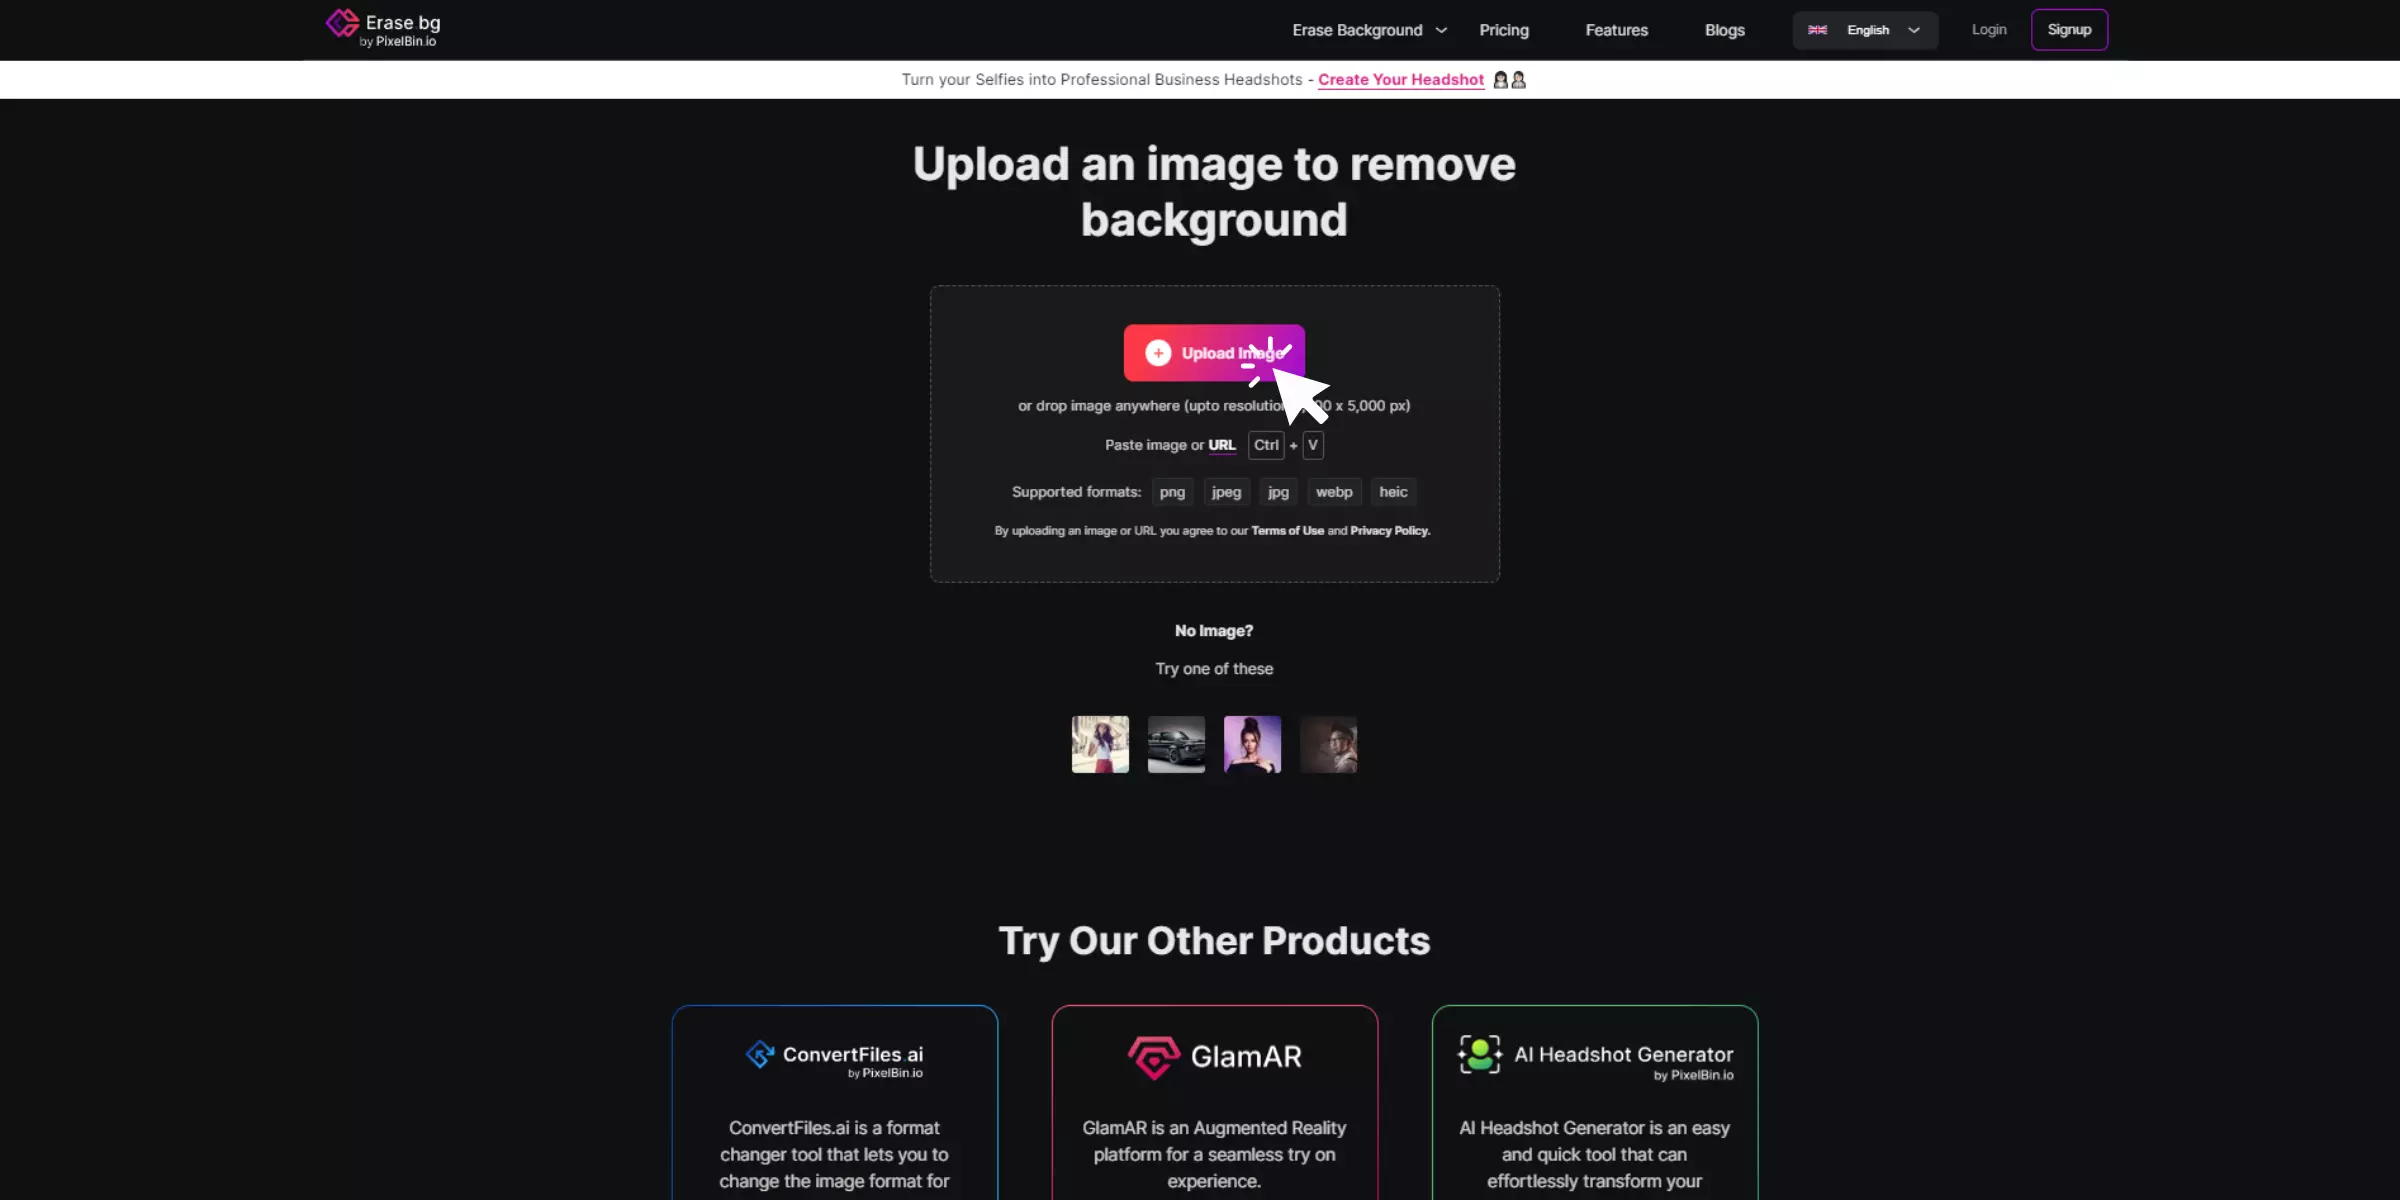
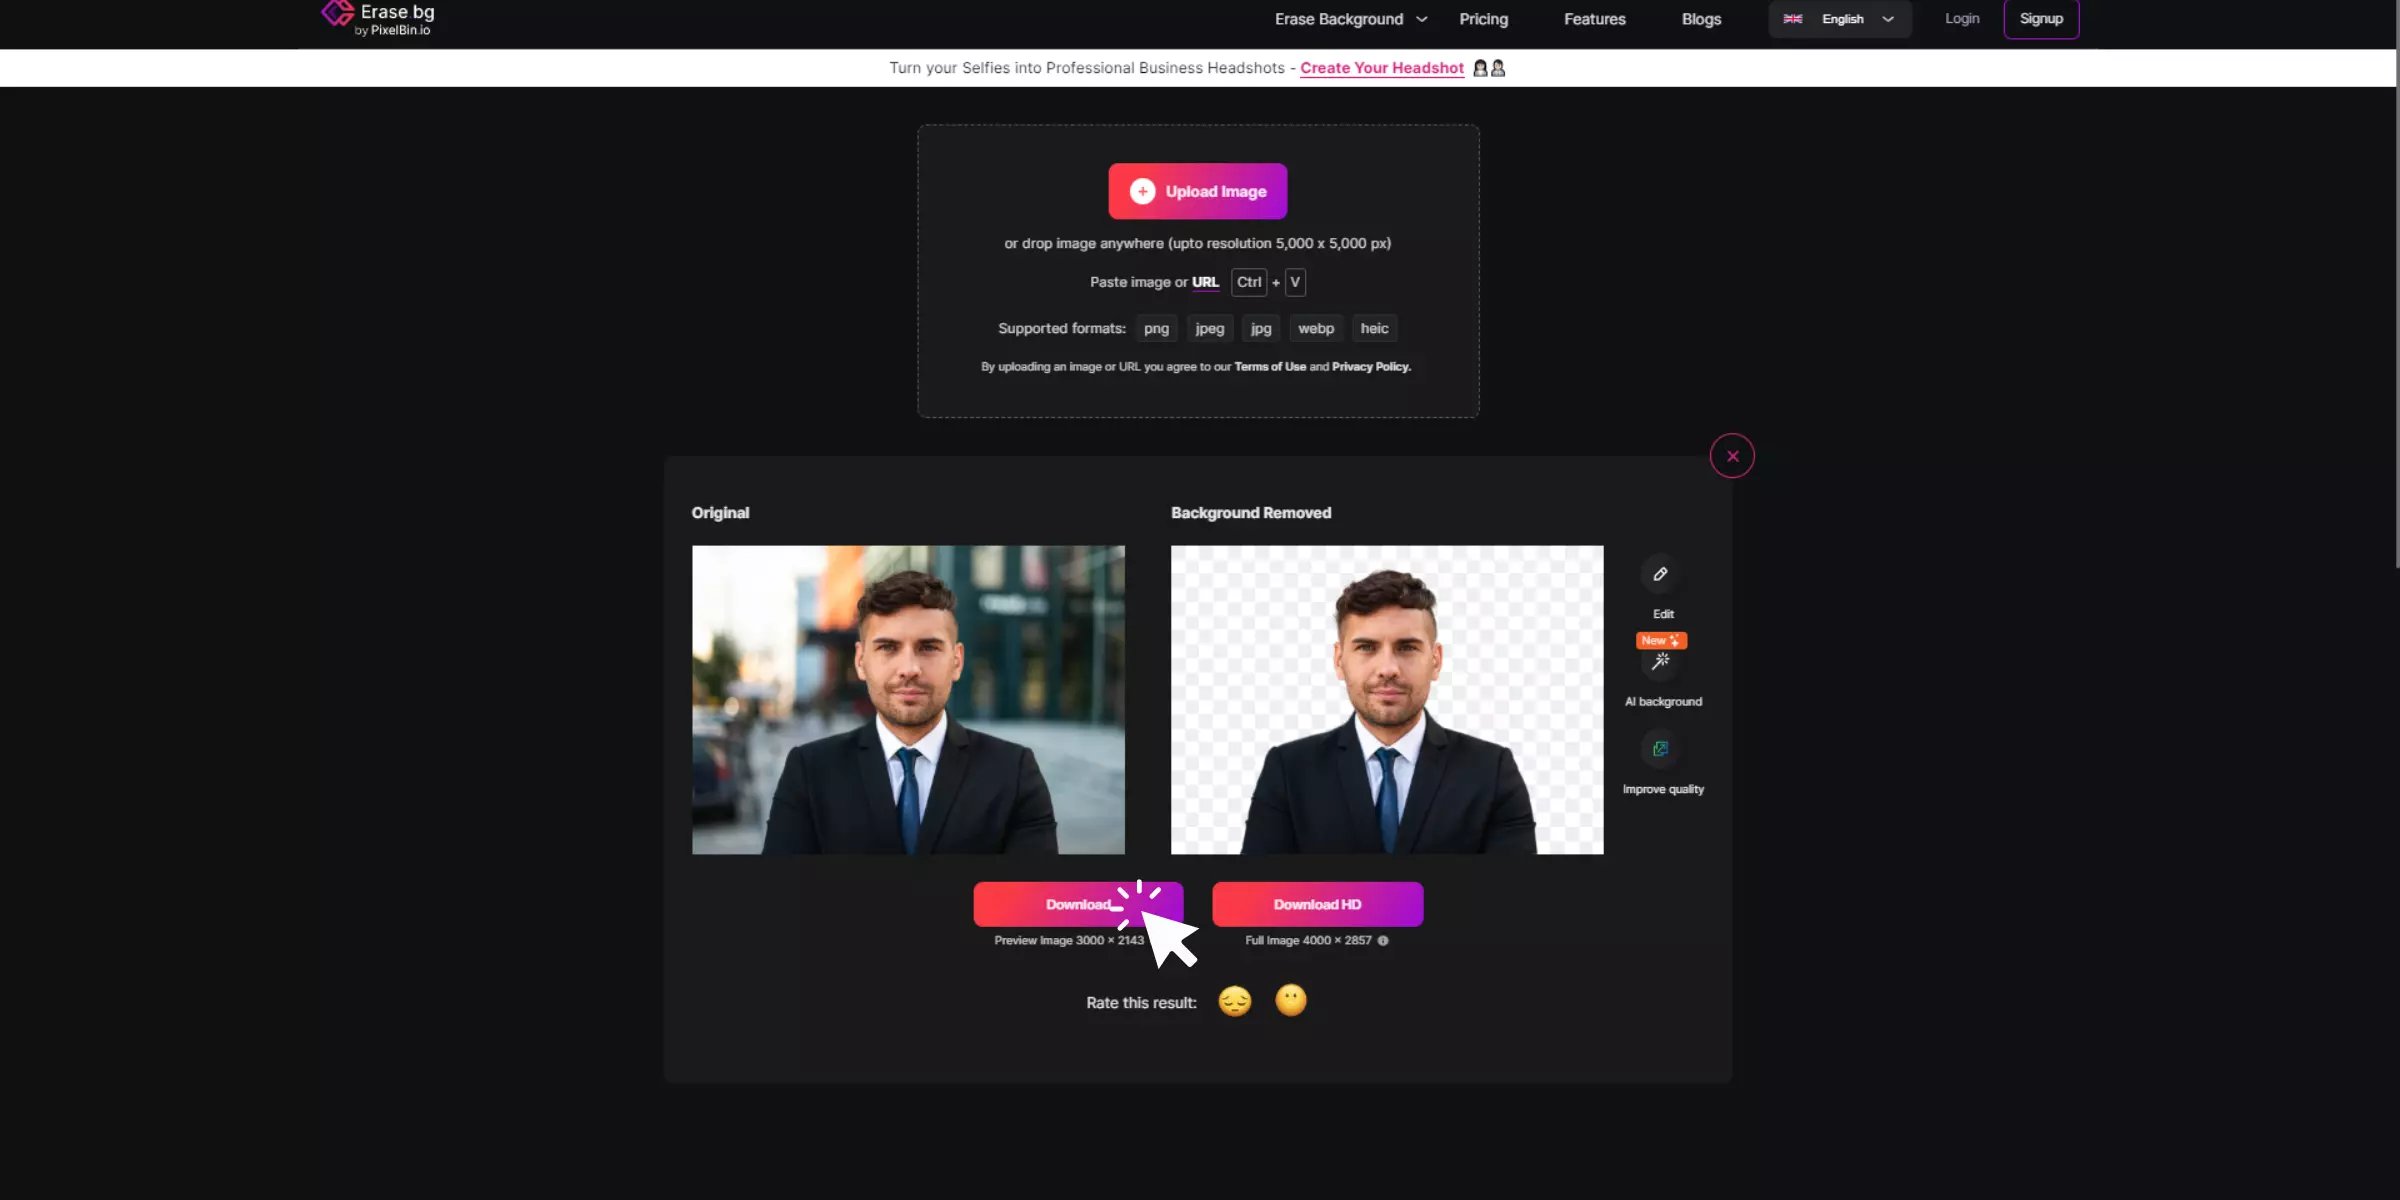
2. Upload Your Image: Click on the "Upload Image" button. Choose the image file you want to edit from your device.
3. Automatic Processing: Erase.bg will automatically start processing the image, removing the background in a few seconds.
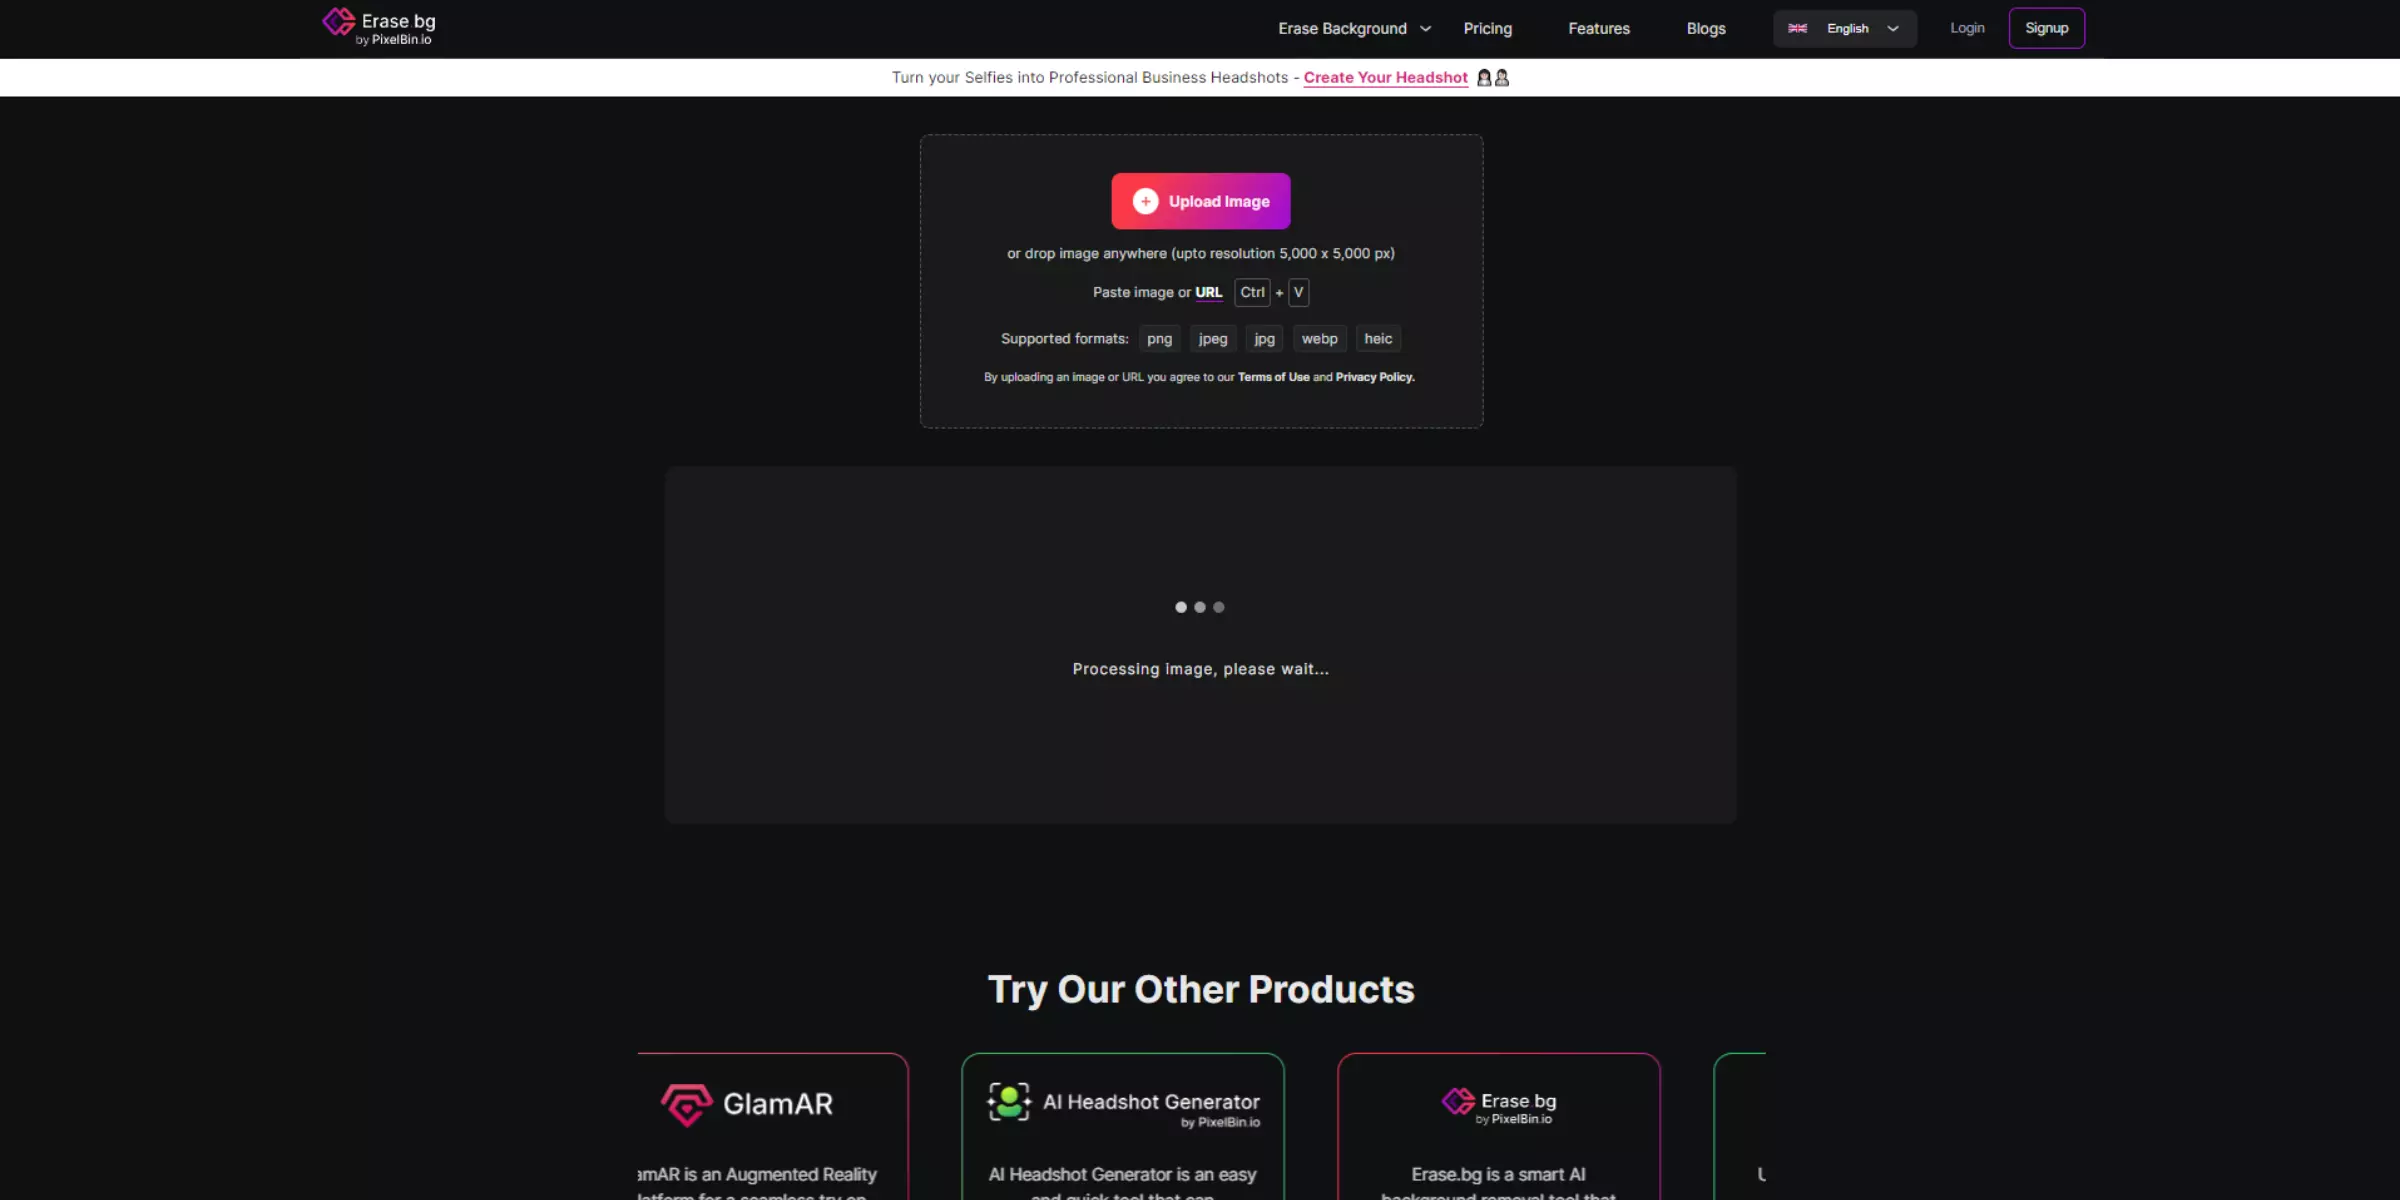
4. Preview the Result: Once processing is complete, you'll see a preview of your image with the background removed.
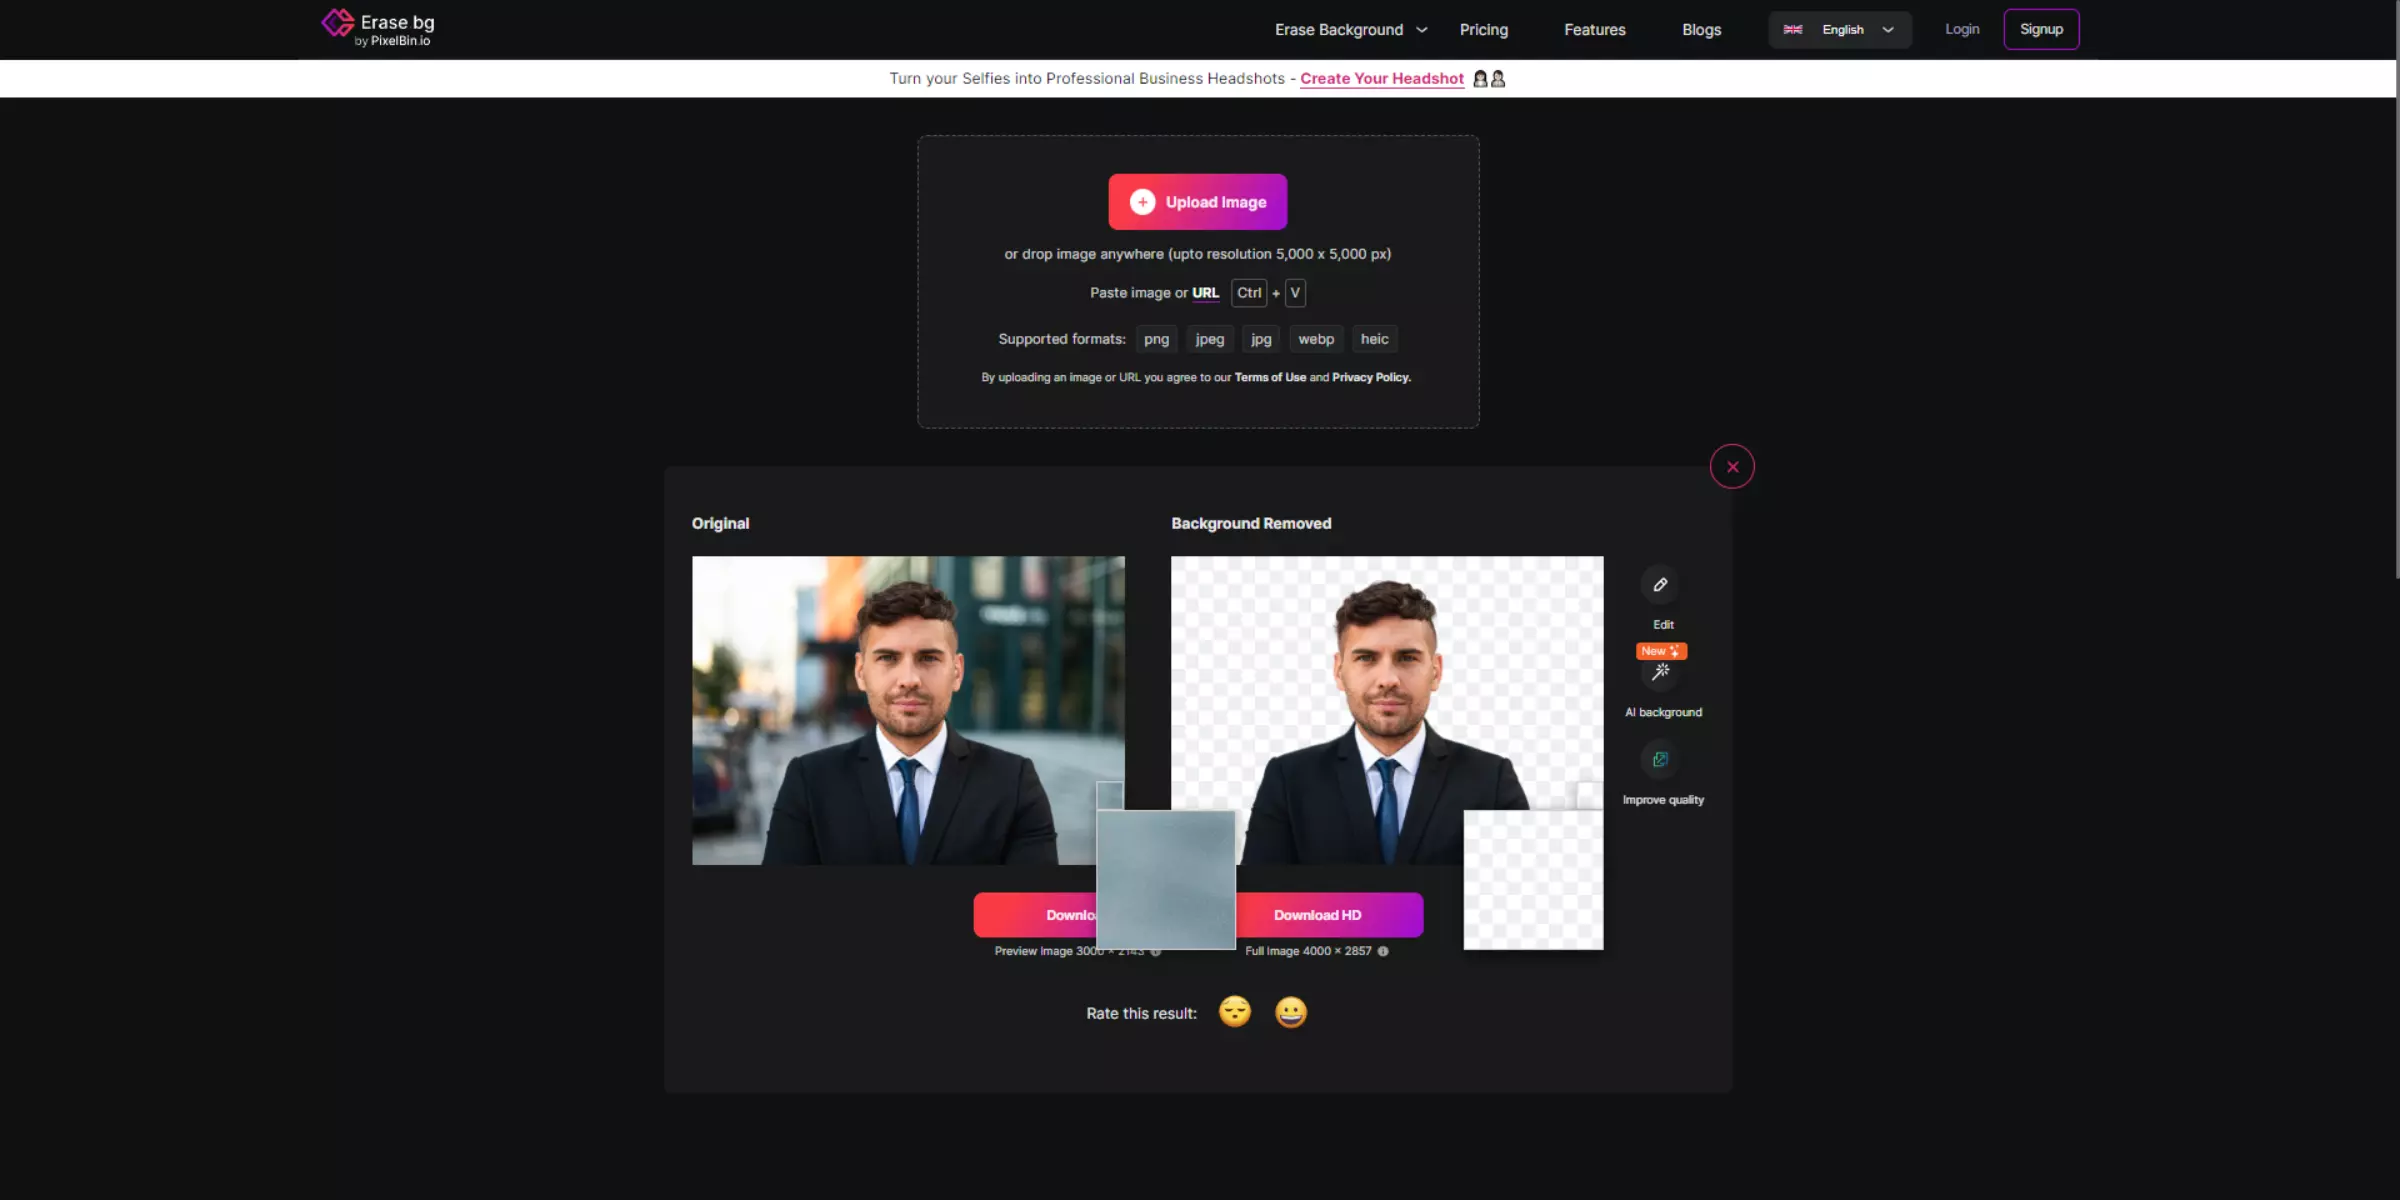
5. Download the Image: If you're satisfied with the result, click the "Download" button to save the edited image to your device.
2. Using the Photo Editing tool (Adobe Photoshop)

Adobe Photoshop is a powerful photo editing tool widely used by professionals and enthusiasts for its robust features and precise control over image editing. When it comes to cutting out a headshot and creating a transparent PNG, Photoshop excels with its advanced selection tools and masking capabilities. Users can easily isolate the subject from the background, refine the edges for a clean and natural look, and ensure the final image maintains high quality.
By leveraging Photoshop's extensive suite of tools, you can achieve a professional-looking headshot that stands out, with the added flexibility of saving the image in a transparent PNG format. This makes Photoshop a good choice for detailed and meticulous editing tasks, providing users with the ability to make intricate adjustments and produce polished, high-quality results.
Steps to use
- Open Your Image: Launch Adobe Photoshop and open the headshot image you want to edit.
- Select the Subject: Use the "Quick Selection Tool" or "Magic Wand Tool" from the toolbar to select the area around the headshot. You can refine your selection by adjusting the tool’s settings or using the Lasso Tool for more precision.
- Refine Edges: Go to Select > Select and Mask to refine the edges of your selection. Adjust the edge smoothness, feathering, and contrast to ensure a clean cut-out.
- Remove Background: Once satisfied with the selection, click Layer > New Layer via Cut to place the headshot on a new layer. Hide or delete the original background layer.
- Save as PNG: Go to File > Save As and choose PNG format. Ensure that the Transparency box is checked to save the image with a transparent background.
Common Mistakes to Avoid While Cutting Out Headshot into Transparent PNG
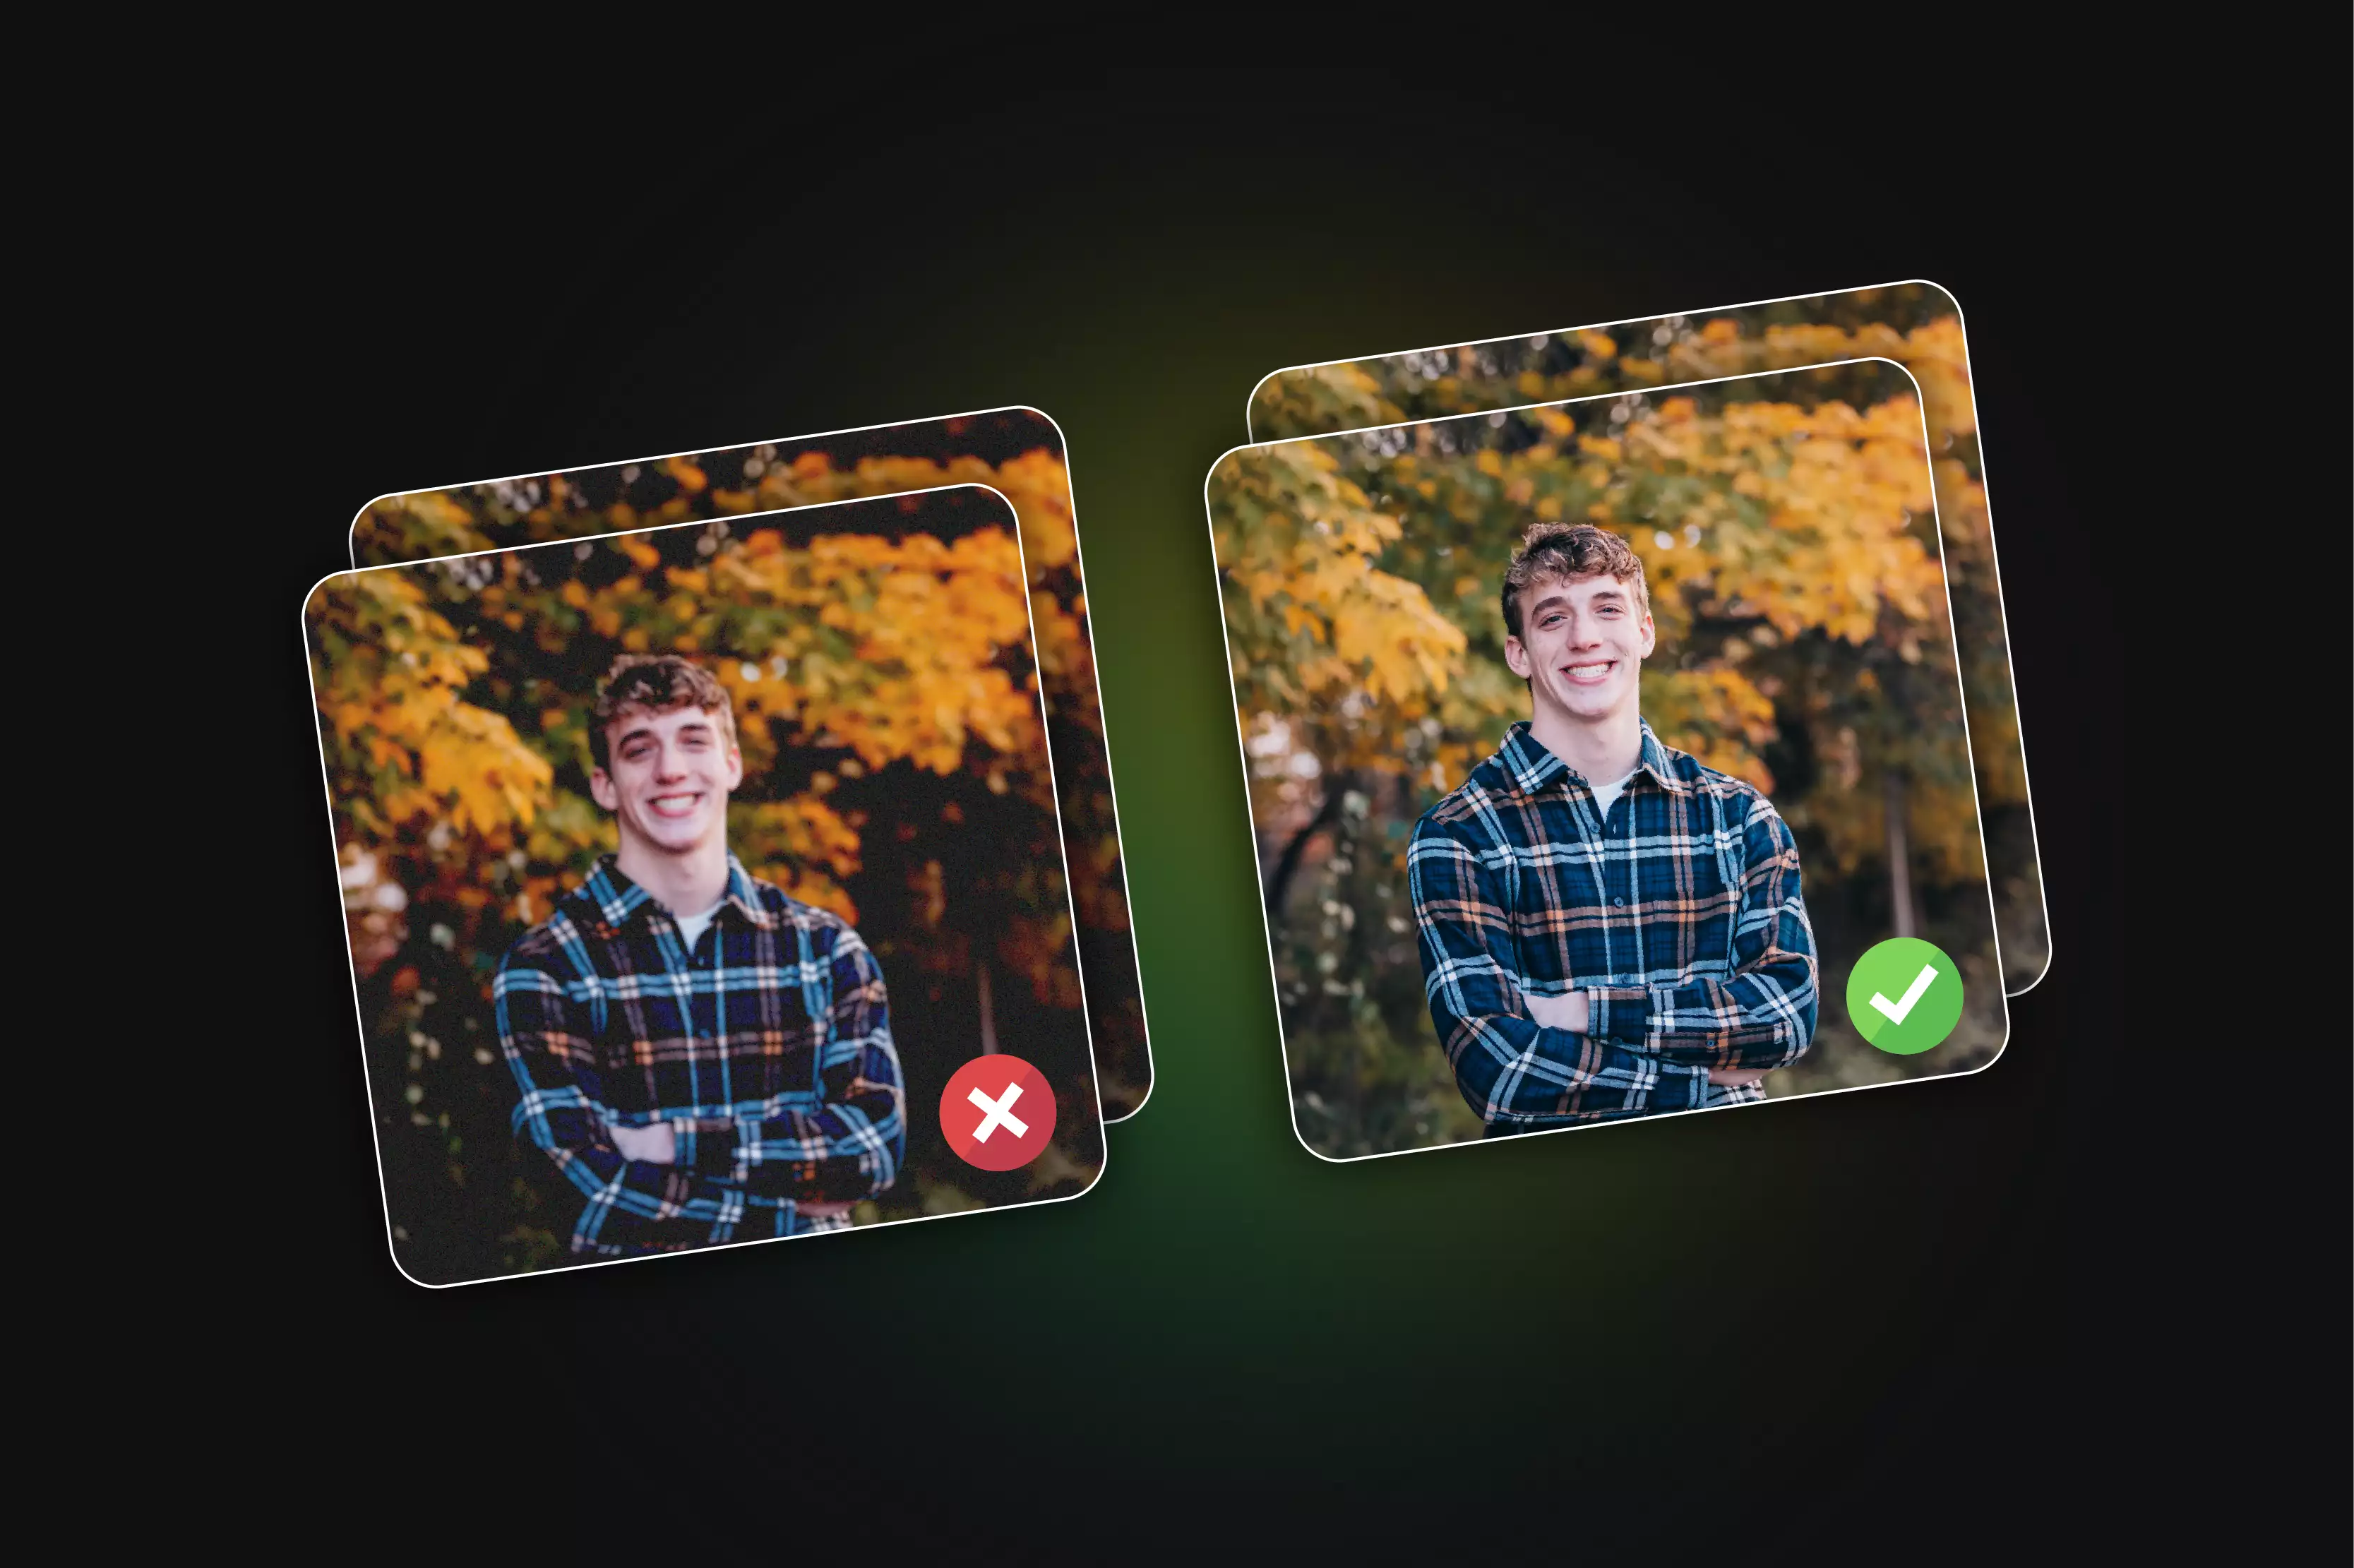
When cutting out a headshot, avoid some common mistakes to ensure a clean and professional result. Rushing the selection process can lead to inaccuracies, so take your time to outline the subject carefully. Using low-resolution images can result in a poor-quality cut-out, so start with high-resolution photos.
Be cautious with edge feathering; excessive feathering can blur the edges, while too little can make them look jagged. Also, make sure to remove any remnants of the old background and refine the edges to achieve a smooth, polished appearance. Double-check the final image for any imperfections before saving it as a transparent PNG to ensure a high-quality result.
1. Leaving Background Remnants
- Mistake: Leaving background remnants is a common mistake that can make your headshot look unprofessional. These leftover bits, if not properly removed, can create a messy or cluttered appearance. Always double-check and clean up any traces of the background for a polished and seamless final result.
- Prevention: To prevent background remnants, carefully zoom in on your image while editing to ensure all edges are clean. Use precise tools or settings that allow for fine adjustments and thorough background removal. After editing, review the image to catch any overlooked remnants before finalizing.
2. Rough Edges
- Mistake: Rough edges occur when the background removal process is smoother and more precise. This can leave uneven or jagged outlines around the subject, making the final image look unprofessional. To avoid this, ensure you use detailed tools and take your time to refine the edges carefully.
- Prevention: To prevent rough edges, use high-precision tools during background removal and refine the edges with careful adjustments. Zoom in to inspect and smooth out any jagged areas, and consider using edge-detection features or feathering to blend the edges seamlessly with the background.
3. Incorrect File Format
- Mistake: Saving the image in the wrong format can lead to a loss of transparency. Formats like JPEG do not support transparent backgrounds, resulting in a solid color or white background instead. Always use formats that support transparency, such as PNG, to maintain the cutout’s clear background.
- Prevention: To prevent issues with file format, always save your image as a PNG when you need a transparent background. This format supports transparency and ensures that your cutout maintains its intended appearance. Avoid using formats like JPEG, which do not support transparent backgrounds.
4. Inadequate Refinement
- Mistake: Inadequate refinement is a common issue when cutting out headshots. If you don't carefully adjust the edges and smooth out rough areas, your final image may appear jagged or unnatural. This can make your cutout look less professional and less polished.
- Prevention: To prevent inadequate refinement, take your time to review and adjust the edges of your cutout carefully. Use tools to smooth out any rough areas and ensure the edges blend seamlessly with the background. Zoom in on your image to catch any imperfections and make precise adjustments for a cleaner, more polished look.
5. Not Checking Transparency
- Mistake: Failing to check for transparency can result in a background that appears unexpectedly or doesn’t work well with other elements. This mistake can make your image look unprofessional and affect its usability across different platforms.
- Prevention: Always preview your image with the transparent background enabled before finalizing the export. Make sure to check how it looks over various backgrounds to ensure it maintains its intended appearance and doesn’t have unwanted artifacts or color fringes.
6. Using Low-Quality Settings
- Mistake: Using low-quality settings can lead to pixelated or blurry edges, reducing the overall clarity and professionalism of your headshot. This error can make your image look unpolished and less effective in its intended use.
- Prevention: Always use the highest quality settings available when exporting your image. Ensure that you select appropriate resolution and file size options to maintain sharpness and detail, especially if the headshot will be used for professional purposes or in high-resolution formats.
Conclusion
Creating a transparent PNG headshot elevates your image's professionalism and versatility. By using tools like Erase.bg or photo editing software, you can easily remove backgrounds and achieve a polished look. Ensure high-quality results by avoiding common mistakes such as rough edges or incorrect file formats. With these steps, you’ll have a standout headshot ready for resumes, social media, and digital portfolios, making a strong and lasting impression.
FAQ's
A transparent PNG file is an image format that supports transparency. This means the background of the image can be clear, allowing the subject to be displayed without any background color or pattern.
A transparent PNG is useful for headshots because it allows the image to be easily placed over any background without showing a colored or patterned background, making it versatile for use in different contexts.
To ensure your PNG file maintains transparency, save the image in PNG format and preview it on different backgrounds to confirm that the transparency is preserved.
If your image has rough edges, use refining tools or manual adjustments to smooth out the edges. Feathering can also create a softer transition between the subject and the transparent background.
While transparent PNGs are primarily used for digital purposes, they can be used for print if the printing process supports transparency. Check with your printer to ensure compatibility.