How to Take a Professional Headshot with Your iPhone: Easy Tips for Stunning Photos
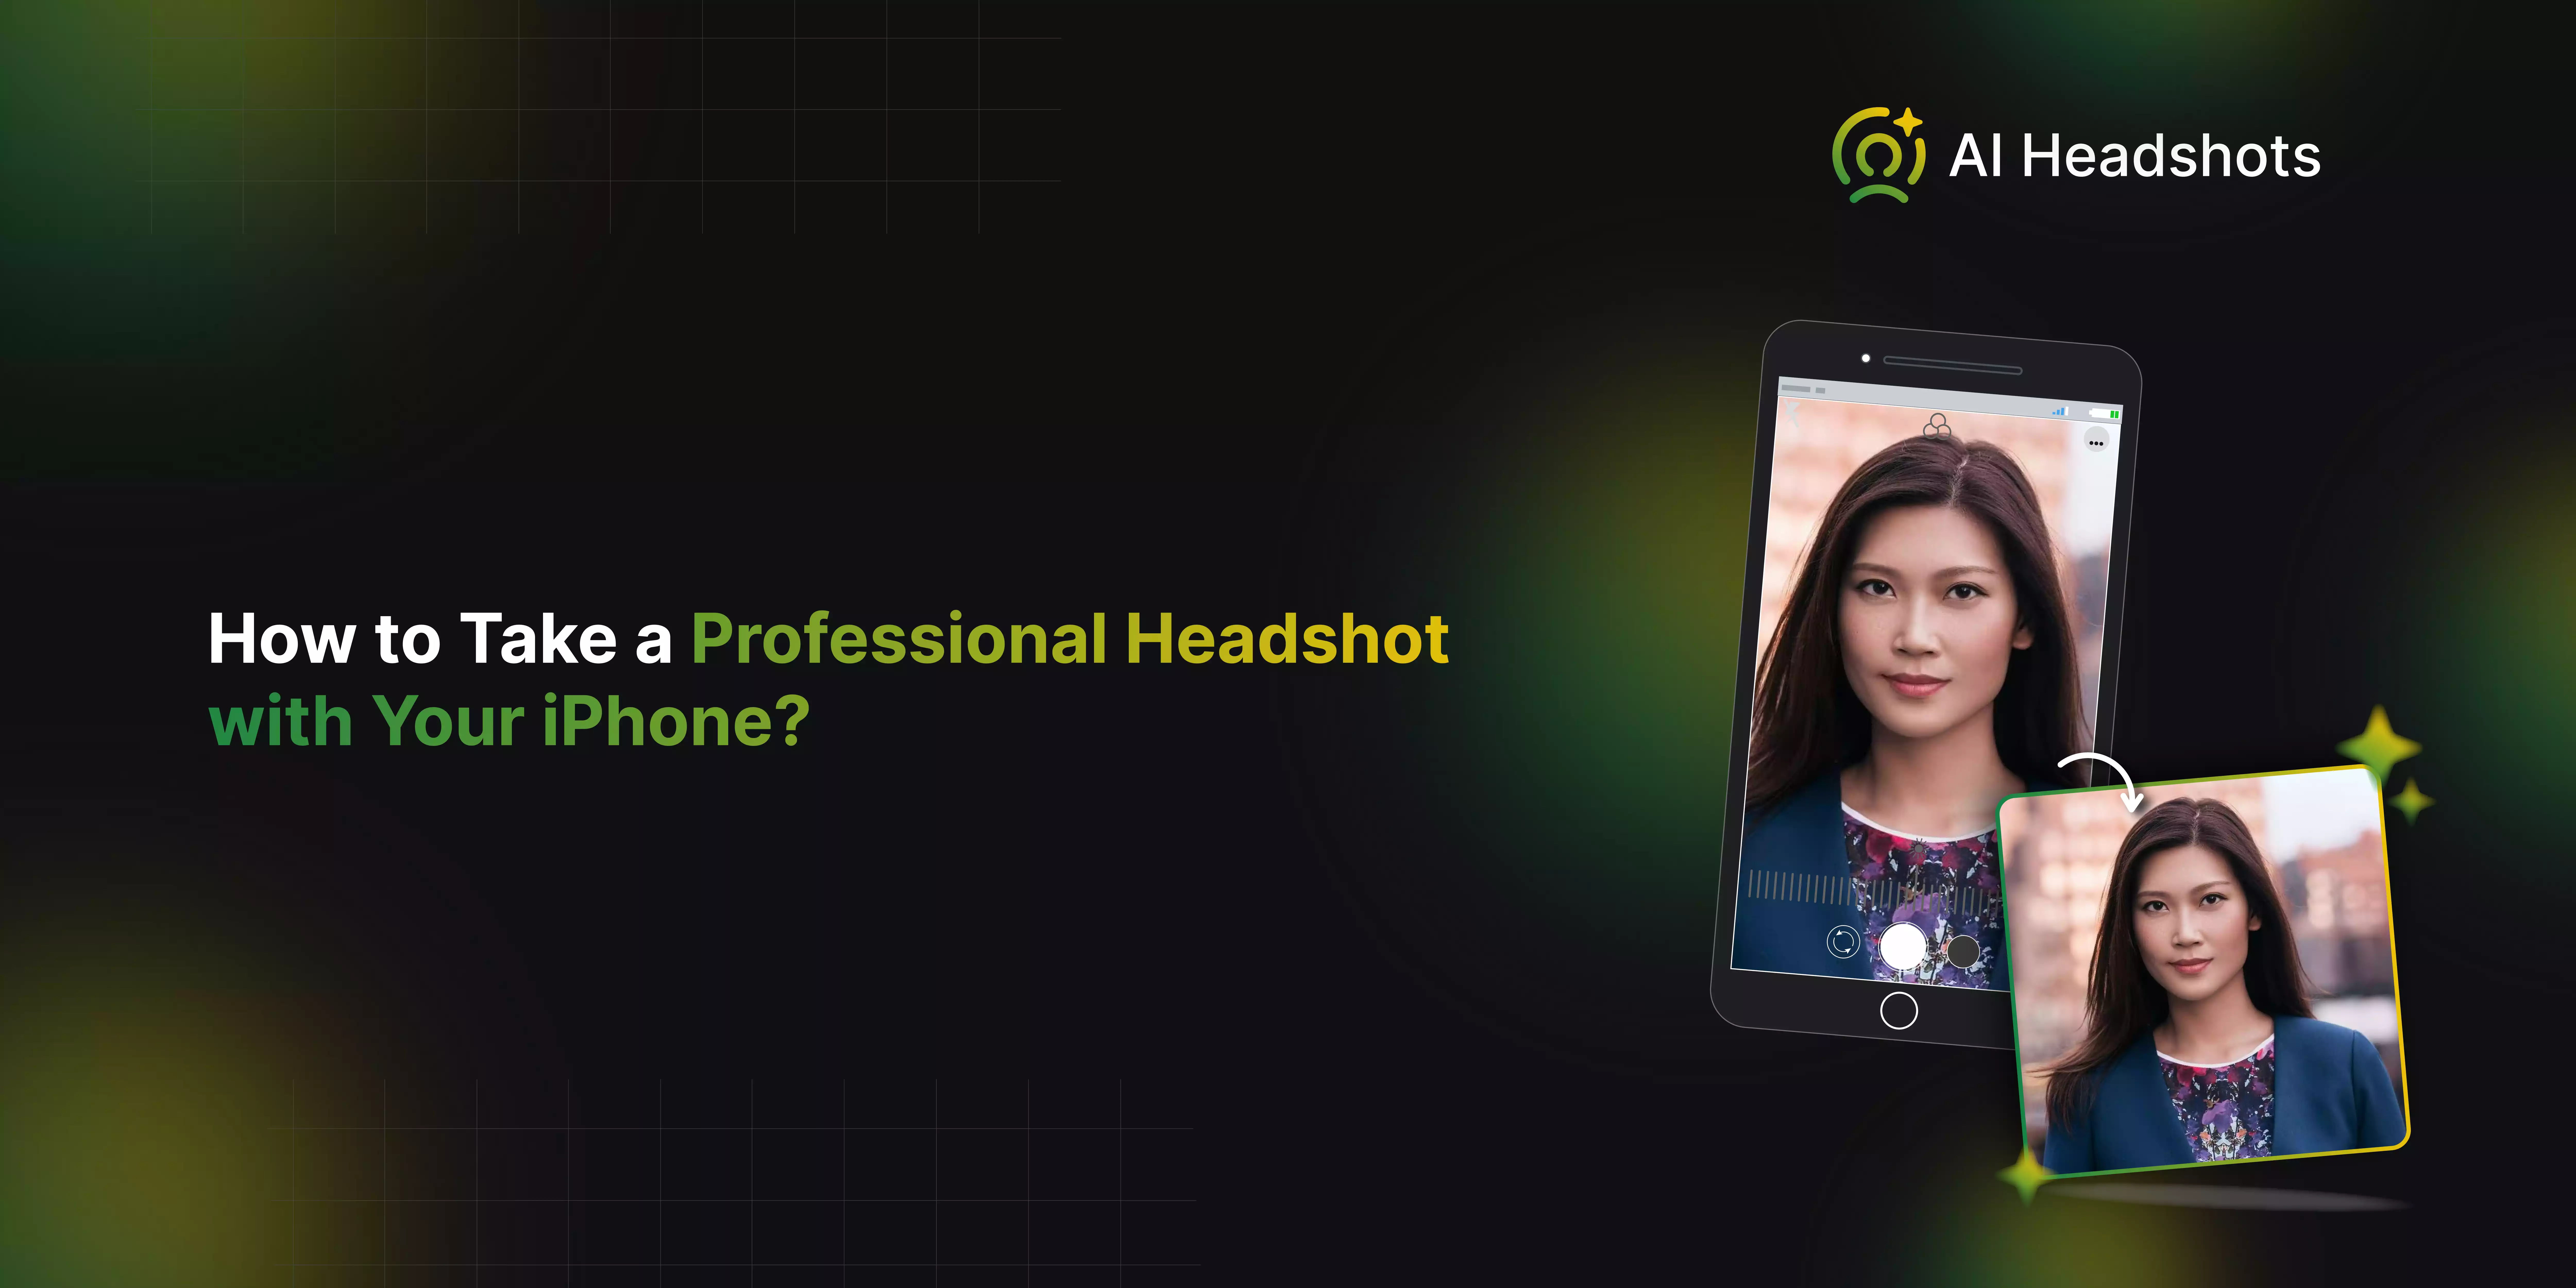

Can you capture a professional headshot using just your iPhone? You're not alone. Many people think that getting a high-quality headshot requires expensive cameras or hiring a photographer. But what if I told you that your iPhone could do the job just as well? In this guide, we’ll explore how you can turn your iPhone into a powerful tool for creating stunning, professional-looking headshots.
Curious about how to achieve those polished headshots you see on LinkedIn or company websites? It’s all about nailing the details, and I’m here to show you how. From mastering the perfect lighting to framing your shot like a pro, we’ll cover everything you need to know to make your headshot stand out.
Excited to get started? I’ll walk you through how to make the most of your iPhone’s features, find the best angles, and even offer some editing tips to give your photo that final touch of perfection. By the end of this blog, you’ll be surprised at how easy it is to create a professional headshot with the device that’s already in your pocket.
5 Key Tips for the Perfect iPhone Headshot
Capturing a professional headshot with your iPhone can be surprisingly straightforward if you keep a few key elements in mind. Whether you're updating your LinkedIn profile, revamping your brand, or just need a polished photo, focusing on these five crucial aspects will help ensure you look your best. Let’s dive into each one to get that perfect shot.
- The Setup: Start by setting up your space to create a clean and uncluttered environment. Use a tripod or a stable surface to avoid shaky images, and adjust your iPhone’s camera to the highest quality settings. Position yourself so that the camera is at eye level for a natural and flattering perspective.
- How You Look: Wear clothes that align with your professional image and ensure they’re well-fitted and neat. Pay attention to grooming—smooth out any stray hairs and adjust your collar. The right outfit and a bit of personal touch can make a significant difference in your headshot’s impact.
- Lighting: Good lighting is crucial for a great headshot. Natural light is often the best choice, so position yourself near a window. Avoid harsh shadows or direct sunlight, and try using soft, diffused light to create a flattering and even illumination.
- Your Expression: Aim for a genuine, approachable expression that reflects your personality. A natural smile works wonders, but avoid overdoing it. Practice in front of a mirror if needed to find an expression that feels comfortable and authentic.
- Background: Choose a simple, non-distracting background that complements your attire. A plain wall or a tidy room works well, ensuring the focus remains on you. Make sure there are no cluttered or distracting elements behind you that could draw attention away from your face.
A Step-By-Step Guide To Take A Headshot With Your iPhone
Taking a professional headshot with your iPhone is easier than you think. With just a few simple adjustments, you can capture a high-quality image that looks polished and engaging. Whether you're updating your social media profile or need a professional photo for a resume, your iPhone is a powerful tool to achieve great results.
Step 1: Get Ready for Your At-Home Headshot Session

Before you start snapping away, how do you set the stage for a perfect at-home headshot session? It all begins with preparation. First, think about the space where you’ll be shooting. Is it clean and free of distractions? A cluttered background can steal attention away from your face, so clear out anything that doesn’t belong.
Next, let’s talk wardrobe. What outfit makes you feel confident and aligns with your professional brand? Choose something simple yet stylish, avoiding busy patterns that might distract you. Remember, your clothing should complement, not compete with, your features.
And what about your iPhone? Is it fully charged and set to the highest resolution? You’ll want to ensure your phone is up to the task, with plenty of storage space for multiple shots. By getting these essentials right, you’re not just taking a photo—you’re capturing your best self.
Step 2: Find the Perfect Light in Your Home

Where’s the best spot in your home to capture that perfect glow? The answer lies in finding natural light that highlights your features just right. Start by exploring different rooms at various times of the day. Do you notice where the sunlight streams in the softest, casting a flattering light across your face? That’s your sweet spot.
Think about the direction of the light, too. Facing a window allows the natural light to evenly illuminate your face, reducing harsh shadows and giving you a professional, polished look. Avoid overhead lighting or backlighting, which can create unflattering shadows or wash you out.
But what if the light is too harsh? Diffuse it by hanging a sheer curtain or standing a little further from the window. By taking the time to find and adjust the perfect lighting, you’re setting yourself up for a headshot that truly shines. Ready to find your spot?
Step 3: Recruit Your Photographer (Friend or Family Member)
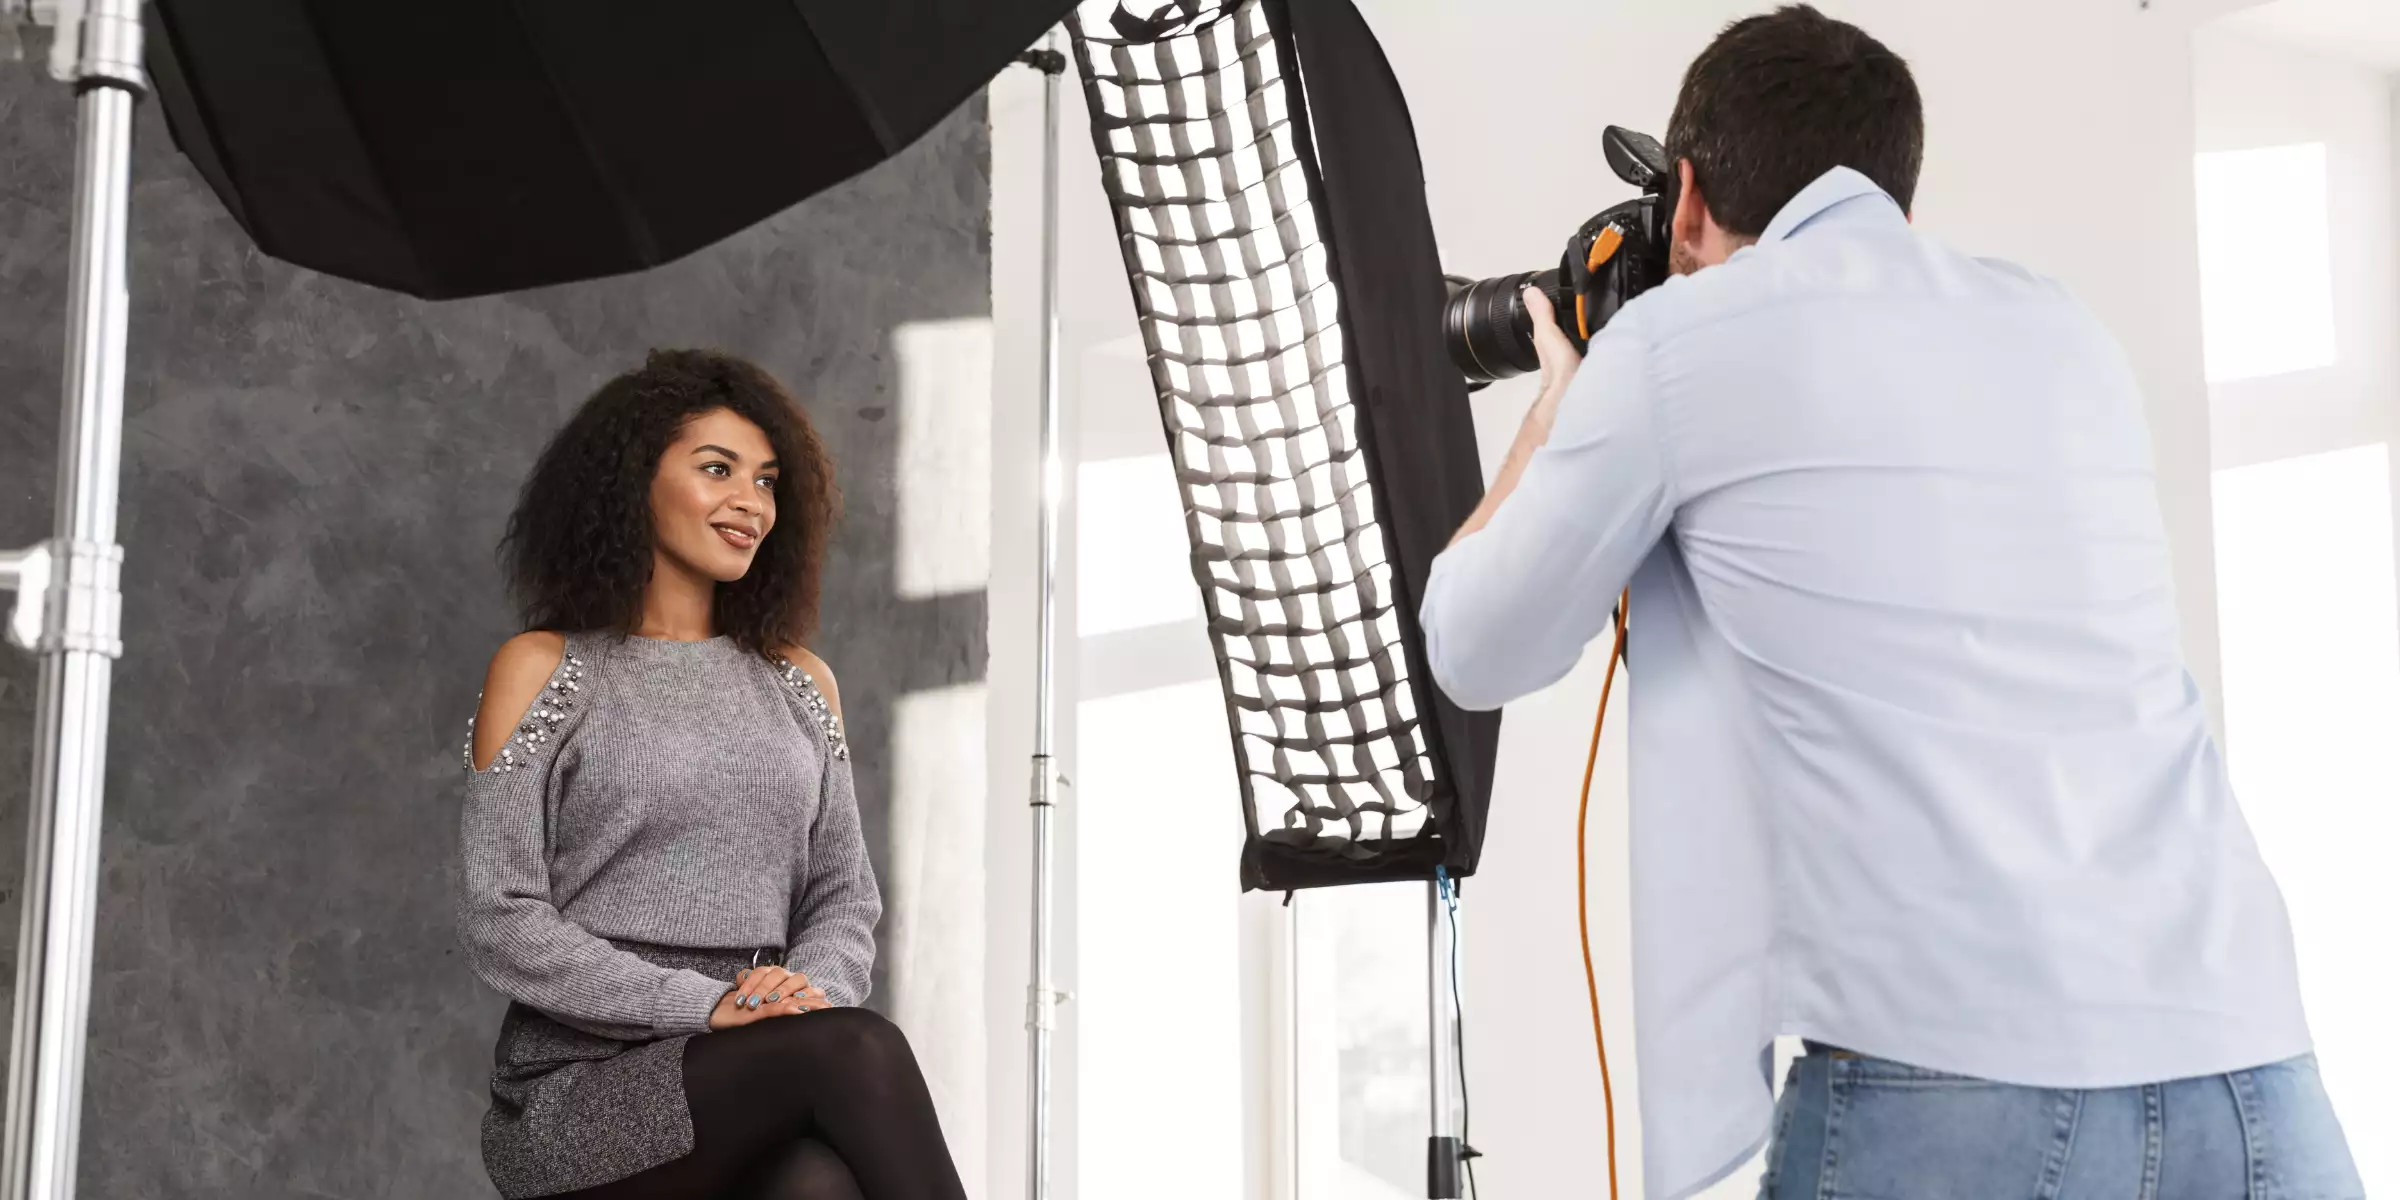
How do I get that perfect angle for your headshot? The answer might be closer than you think. Instead of struggling with a selfie or a tripod, enlist the help of a friend or family member. They can be your photographer, making the process a lot easier—and more fun!
When you have someone else behind the camera, you can focus on your pose and expression without worrying about framing the shot. Your photographer can experiment with different angles, helping you find the one that best captures your professional side.
Need help to direct them? Keep it simple. Ask them to shoot from slightly above eye level for a flattering angle and remind them to focus on your face, leaving some room for cropping later. By recruiting a personal photographer, you’re not just getting better photos—you’re also making the experience more relaxed and enjoyable.
Step 4: Capture Stunning Shots with Your iPhone
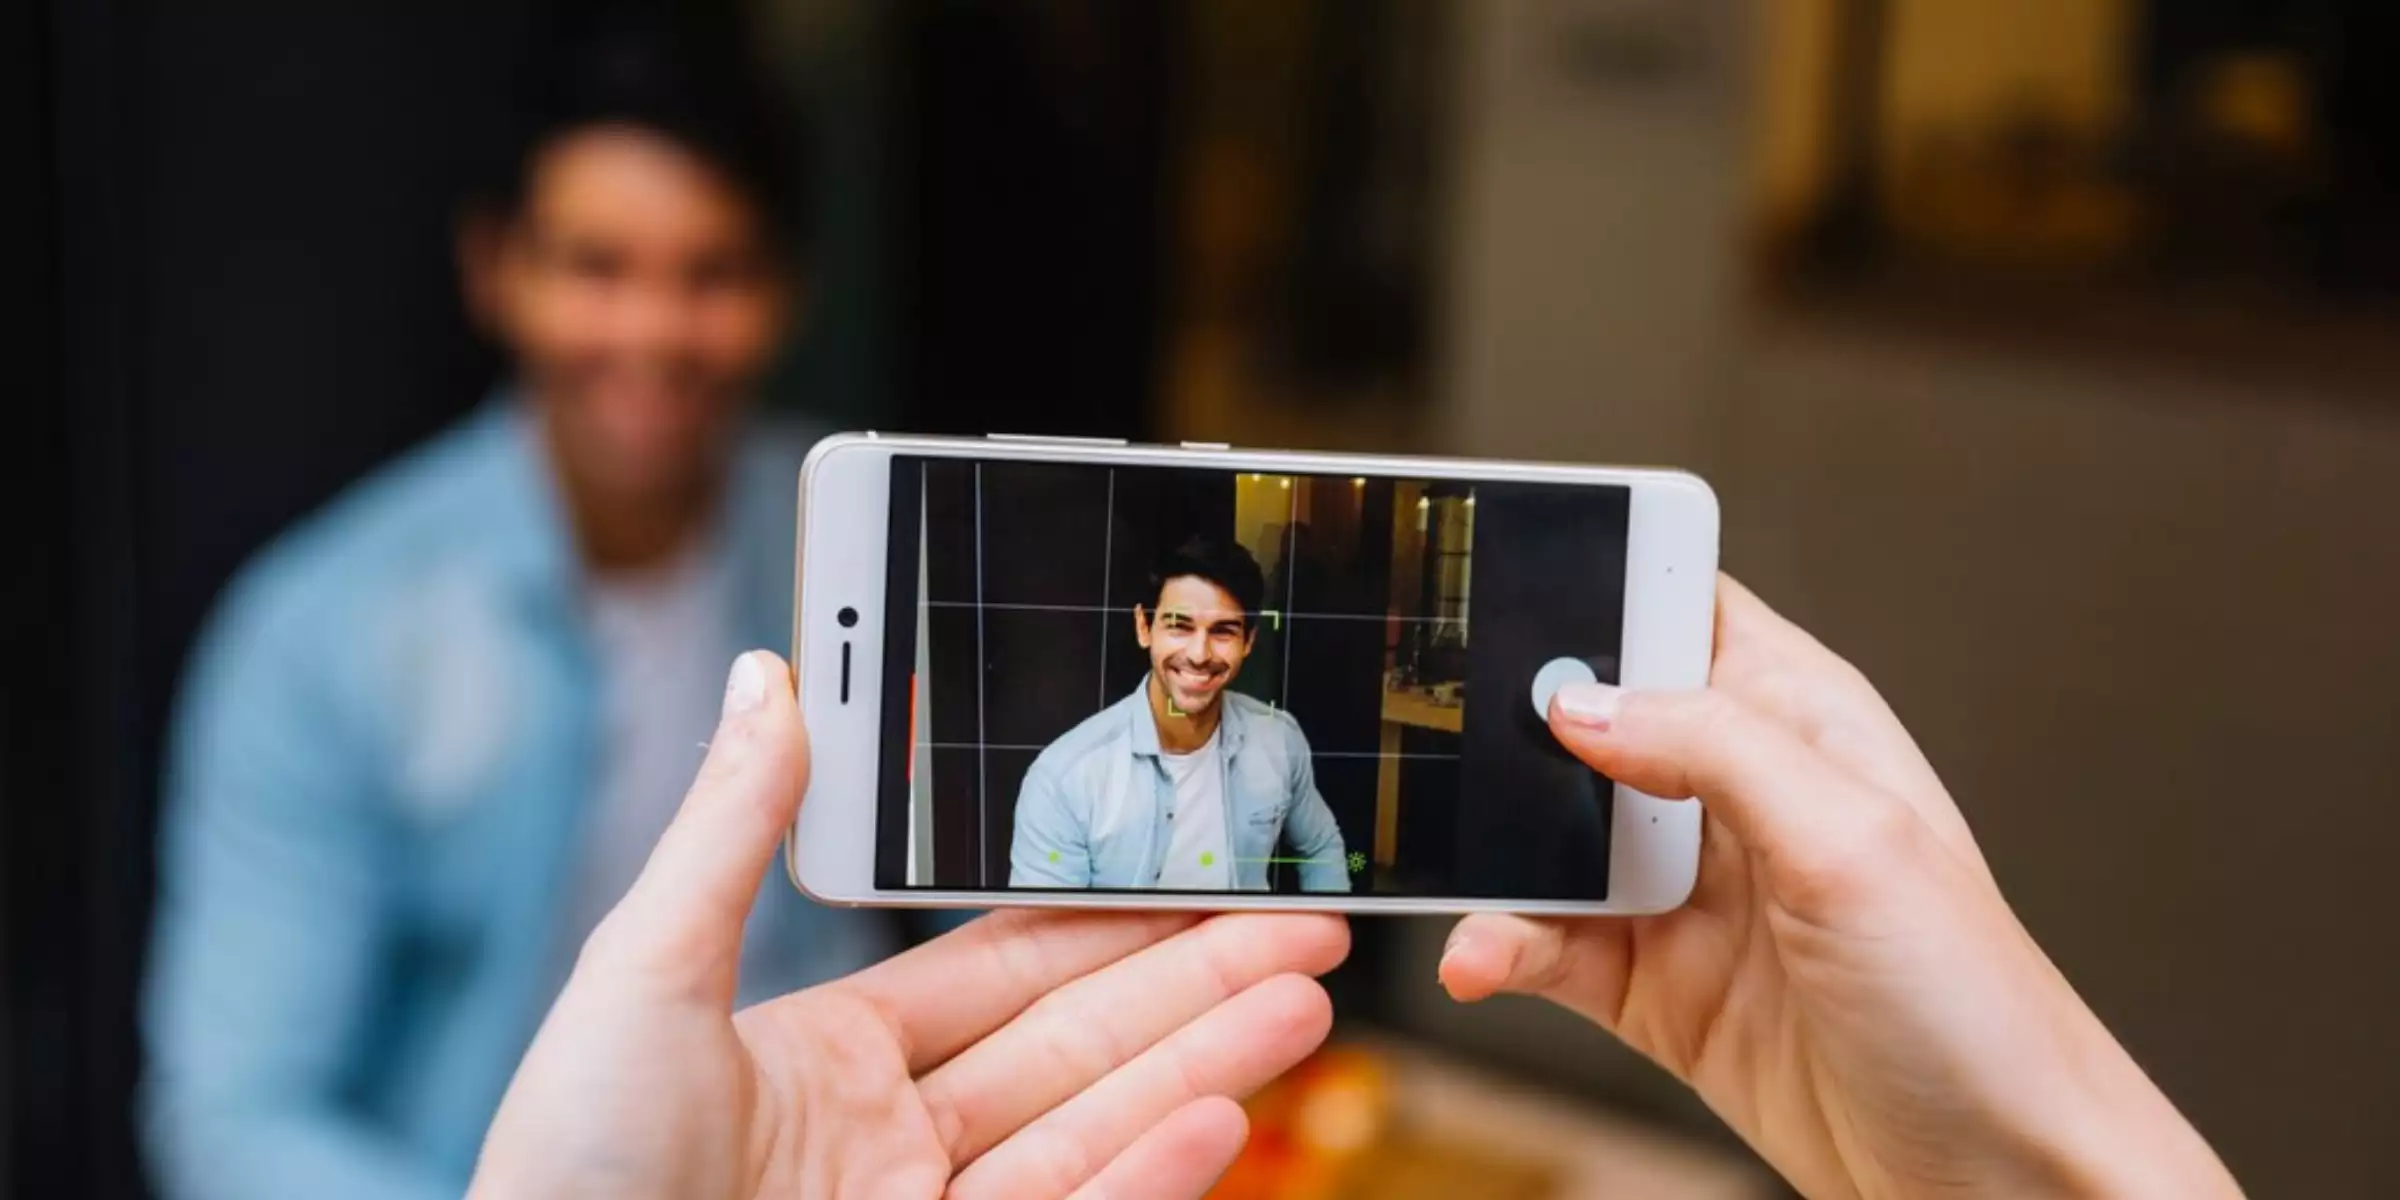
Ready to capture that perfect headshot with your iPhone? It’s easier than you might think! Your iPhone’s camera is packed with features that can help you achieve stunning, professional-quality photos right at home. But how do you make the most of it?
First, think about framing. Center yourself in the shot, leaving a little space above your head and to the sides. This not only makes for a balanced photo but also gives you room to crop later if needed. Next, consider your pose. A slight angle is often more flattering than a straight-on shot—try turning your shoulders slightly while keeping your head facing forward. And don’t forget to look confident and approachable!
Finally, use your iPhone’s grid feature to keep your shot aligned and use portrait mode to blur the background, making you the star of the show. With these tips, your iPhone can easily help you capture headshots that are both professional and flattering. Ready to snap away?
Step 5: Polish Your Photos with Expert Editing
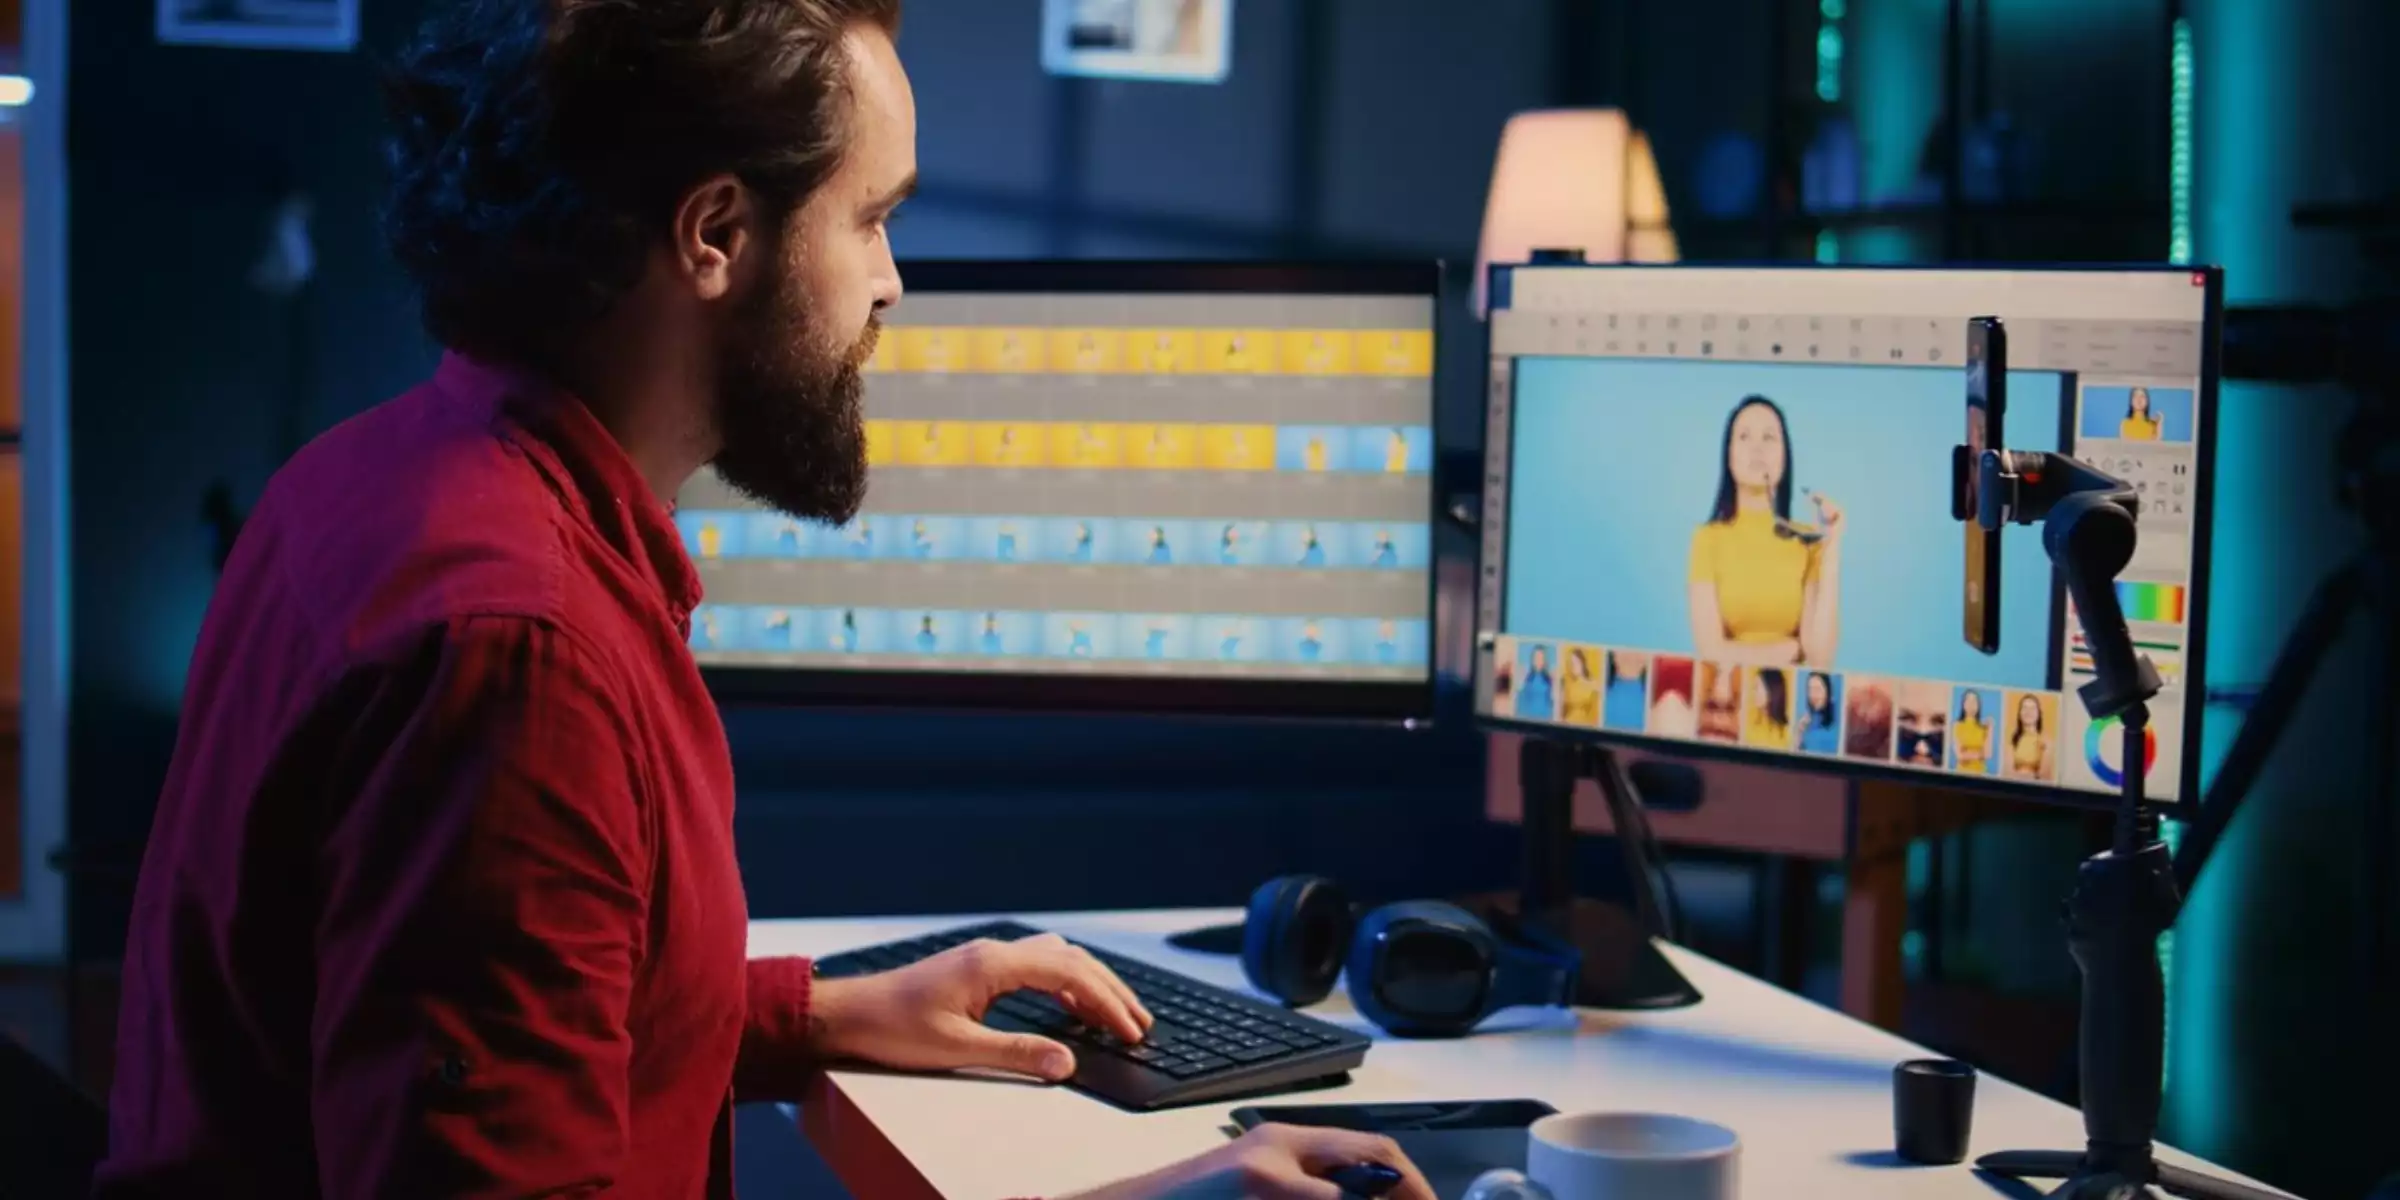
Now that you’ve captured some great shots with your iPhone, what’s the next step? It’s time to give those photos a professional polish that makes them truly stand out. But how do you ensure your headshots have that refined, finished look?
Start by adjusting the basics—tweak the brightness, contrast, and sharpness to bring out the best in your photo. Want to smooth out skin tones or remove a stray hair? There are plenty of apps that make retouching simple and effective, like Lightroom or Snapseed. But remember, less is more. The goal is to enhance your natural features, not to over-edit.
Finally, consider the background. Is it clean and distraction-free? A quick edit can blur any unwanted details, keeping the focus on you. With just a bit of editing, your iPhone headshots will go from good to great, ready to impress on LinkedIn, your resume, or wherever you need them.
Common Mistakes To Avoid When Taking A Headshot With Your iPhone
Taking a professional headshot with your iPhone can be a simple and effective way to create a polished image for your online profiles. However, common mistakes can easily detract from the quality of your photo. By avoiding these pitfalls, you can ensure that your headshot looks sharp, professional, and true to your real self.
- Poor Lighting: Dim or harsh lighting can create unflattering shadows and highlights, making your face appear uneven. Natural light is ideal, as it provides a soft and even illumination. Avoid direct sunlight or overly bright artificial lights, which can lead to glare or washed-out colors.
- Cluttered Background: A busy or distracting background can draw attention away from your face, making the headshot less effective. Choose a clean and simple backdrop to ensure that the focus remains on you. A plain wall or a neutral setting works best to keep the attention centered.
- Using the Front Camera: The front camera on your iPhone often produces lower-quality images with less detail compared to the rear camera. To achieve a sharper and more detailed photo, use the rear camera. This can greatly improve the clarity and professionalism of your headshot.
- Not Framing Correctly: Incorrect framing can result in too much or too little headroom, which might affect the composition of your headshot. Ensure that your face is centered and that there is adequate space around your head to avoid any awkward cut-offs. Proper framing helps in capturing a balanced and well-composed image.
- Inconsistent Focus: Blurry or out-of-focus images can make your headshot look unprofessional and unclear. Ensure that the camera is properly focused on your face before taking the shot to achieve a crisp and clear image. Consistent focus is crucial for a sharp and effective headshot.
Mastering Headshots in a Few Simple Steps
If the thought of setting up, shooting, and editing your headshots feels like a lot of work, there's a simpler way to get a professional look with ease. AI Headshot Generator offers a straightforward and stress-free solution for generating high-quality headshots. Instead of spending time on complex setups or struggling with camera angles and lighting, all you need to do is upload 8-10 casual selfies to the platform.
The advanced AI technology then takes over, analyzing your selfies to create polished, professional-grade headshots that look natural and refined. This approach saves you from the hassle of manual editing and allows you to skip the traditional photo shoot entirely. With AIHeadshotGenerator.media, you get exceptional results with minimal effort, providing you with a stunning headshot that’s ready for your LinkedIn profile, resume, or any other professional use. It’s a quick, efficient, and effective way to enhance your professional image.
Conclusion
Taking a professional headshot with your iPhone is not only possible but can yield impressive results when done correctly. By paying attention to lighting, background, posture, and framing, you can create a high-quality image that truly represents you. However, if you prefer an even simpler approach, AIHeadshotGenerator.media offers an effortless way to get polished, professional headshots. Whether you choose to capture your shot or use an AI tool, a great headshot is within your reach.
FAQ's
Yes, with the right techniques and settings, your iPhone can produce a headshot that looks professional and polished.
It's recommended to use the rear camera for taking headshots as it typically has higher resolution and better image quality compared to the front-facing camera.
While your iPhone's native camera app can work well, using apps with manual settings or portrait modes can enhance the quality of your headshots.
The best time is during the early morning or late afternoon when the natural light is soft and flattering, avoiding harsh midday sunlight.
Yes, your iPhone offers built-in editing tools, or you can use third-party apps to adjust lighting, contrast, and other elements to perfect your headshot.


